astrophotography

The Aurora Strikes Back!

On October 10, 2024, as predictions of a strong geomagnetic storm played out, sightings of the northern lights (aka aurora borealis) were reported throughout continental Europe in places that do not normally witness this amazing phenomenon. It became apparent that we were in for a treat in the US too. 

Five months earlier an unusually strong solar storm dazzled much of the temperate and even tropical latitudes with amazing auroras — in the US, the northern lights could be seen as far south as Florida! Unfortunately, while that spectacle unfolded, I was in Utah under overcast skies and unable to witness the magic. Earlier in the year I photographed the aurora over snow-covered fjords in Norway, so I was especially excited, and then disappointed, at the missed opportunity much closer to home. 

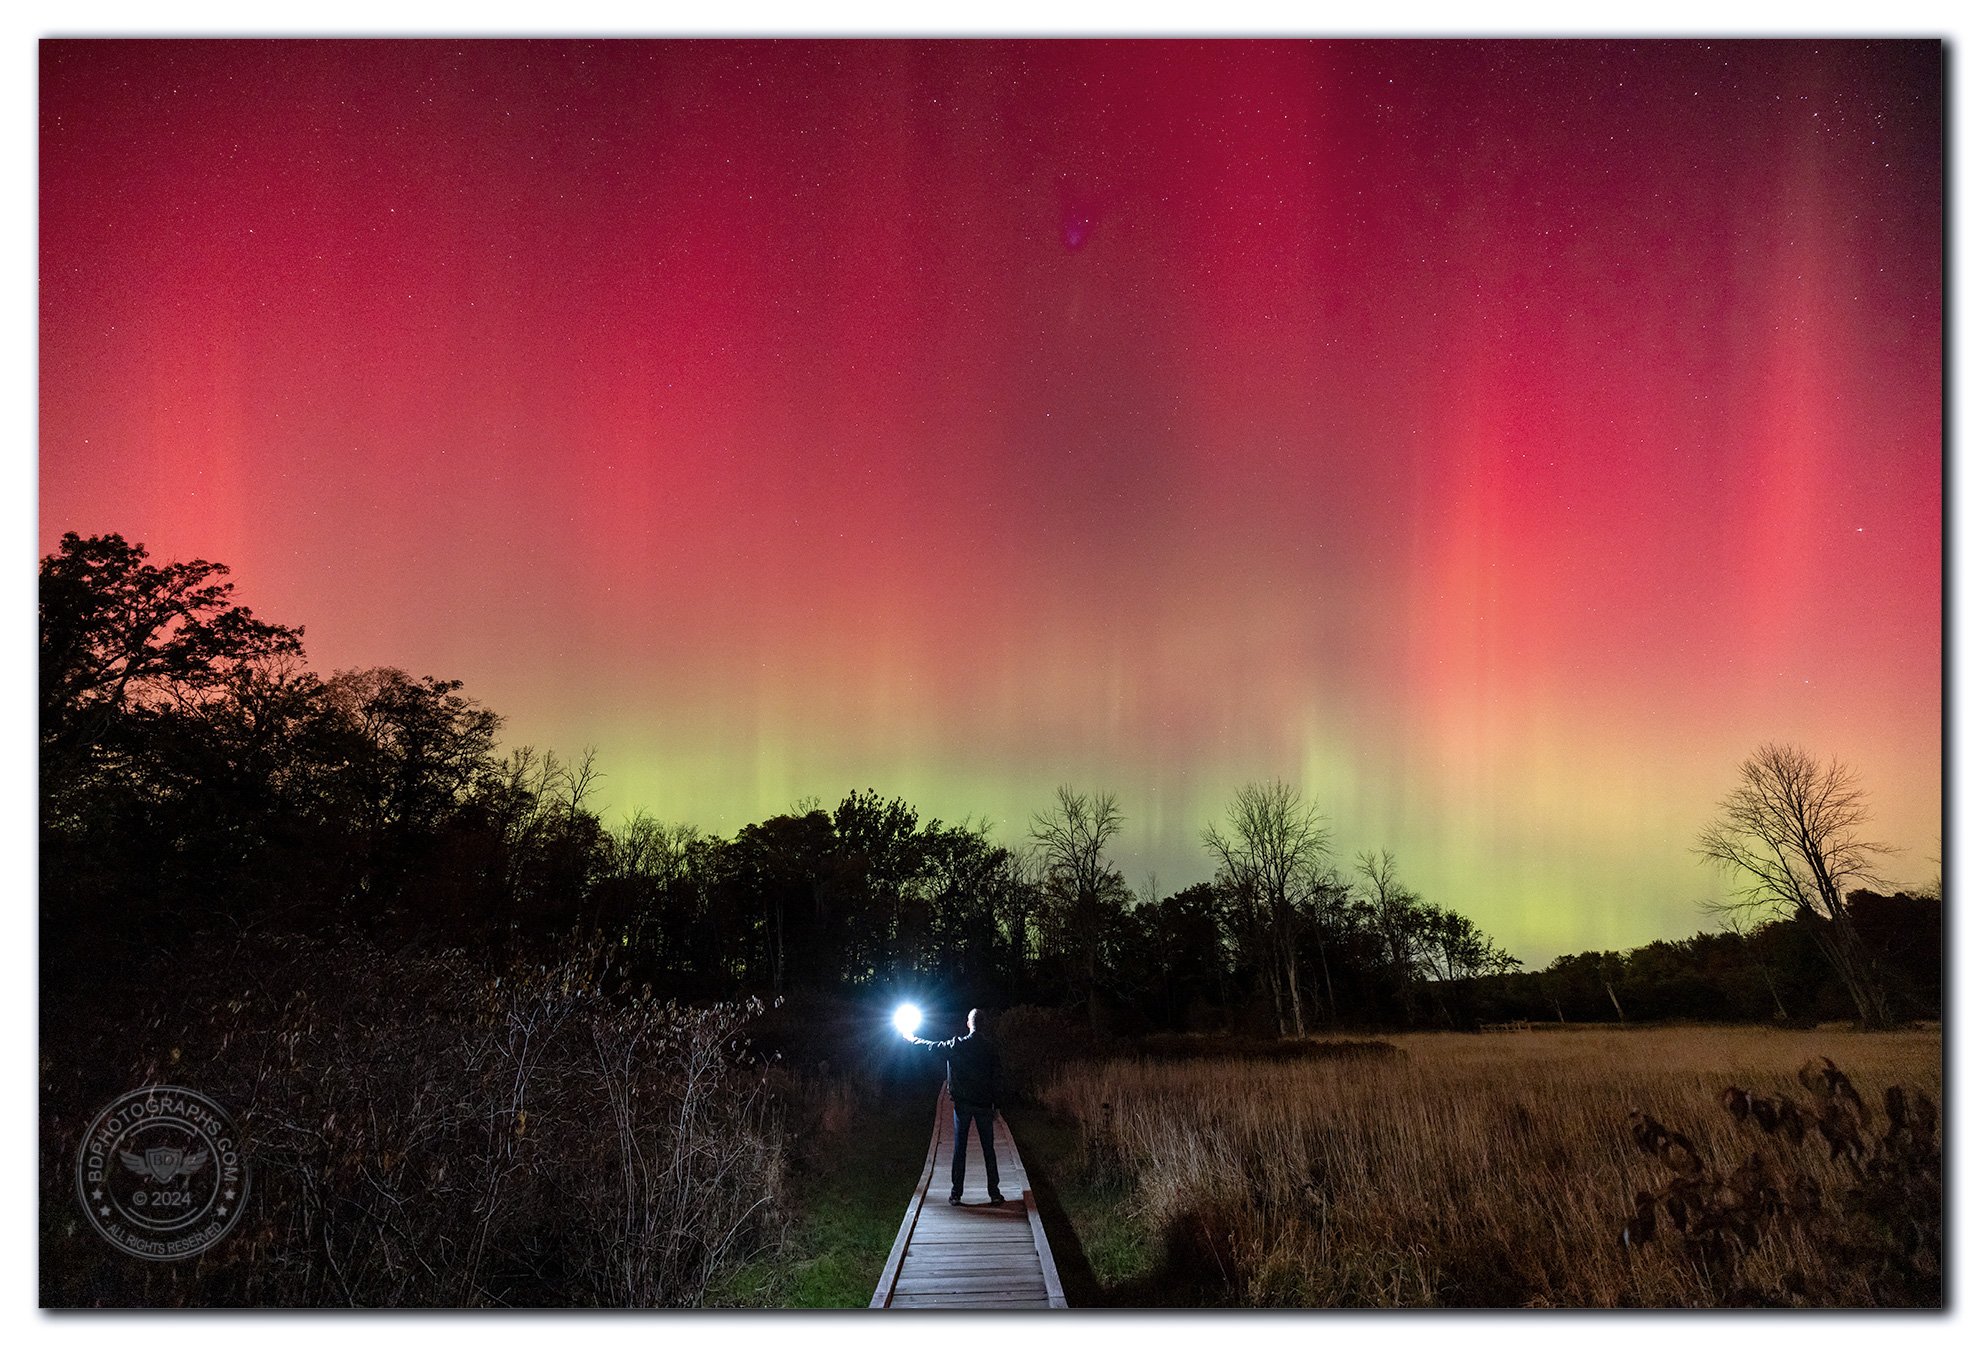
I photographed this “astro-selfie” in New Jersey under an incredible aurora borealis

As the October solar storm developed, I made preparations to shoot after sunset. The weather forecast called for clear skies — an auspicious start to the evening. In the New York City area it is difficult to find truly dark skies: the best options are usually the beaches of Long Island or the Jersey Shore, but those face south and east … 

So I traveled 45 miles northwest of Manhattan to a section of the Appalachian Trail that features a raised boardwalk over marshy grasslands. The trail snakes around a valley in the New York-New Jersey Highlands region, near the border of the two states. I chose this area for its meandering path and largely open field, providing multiple viewpoints and alignments in different directions. 

I arrived at about 9:00 PM to a crisp 45ºF. Here is how the aurora developed that evening: 

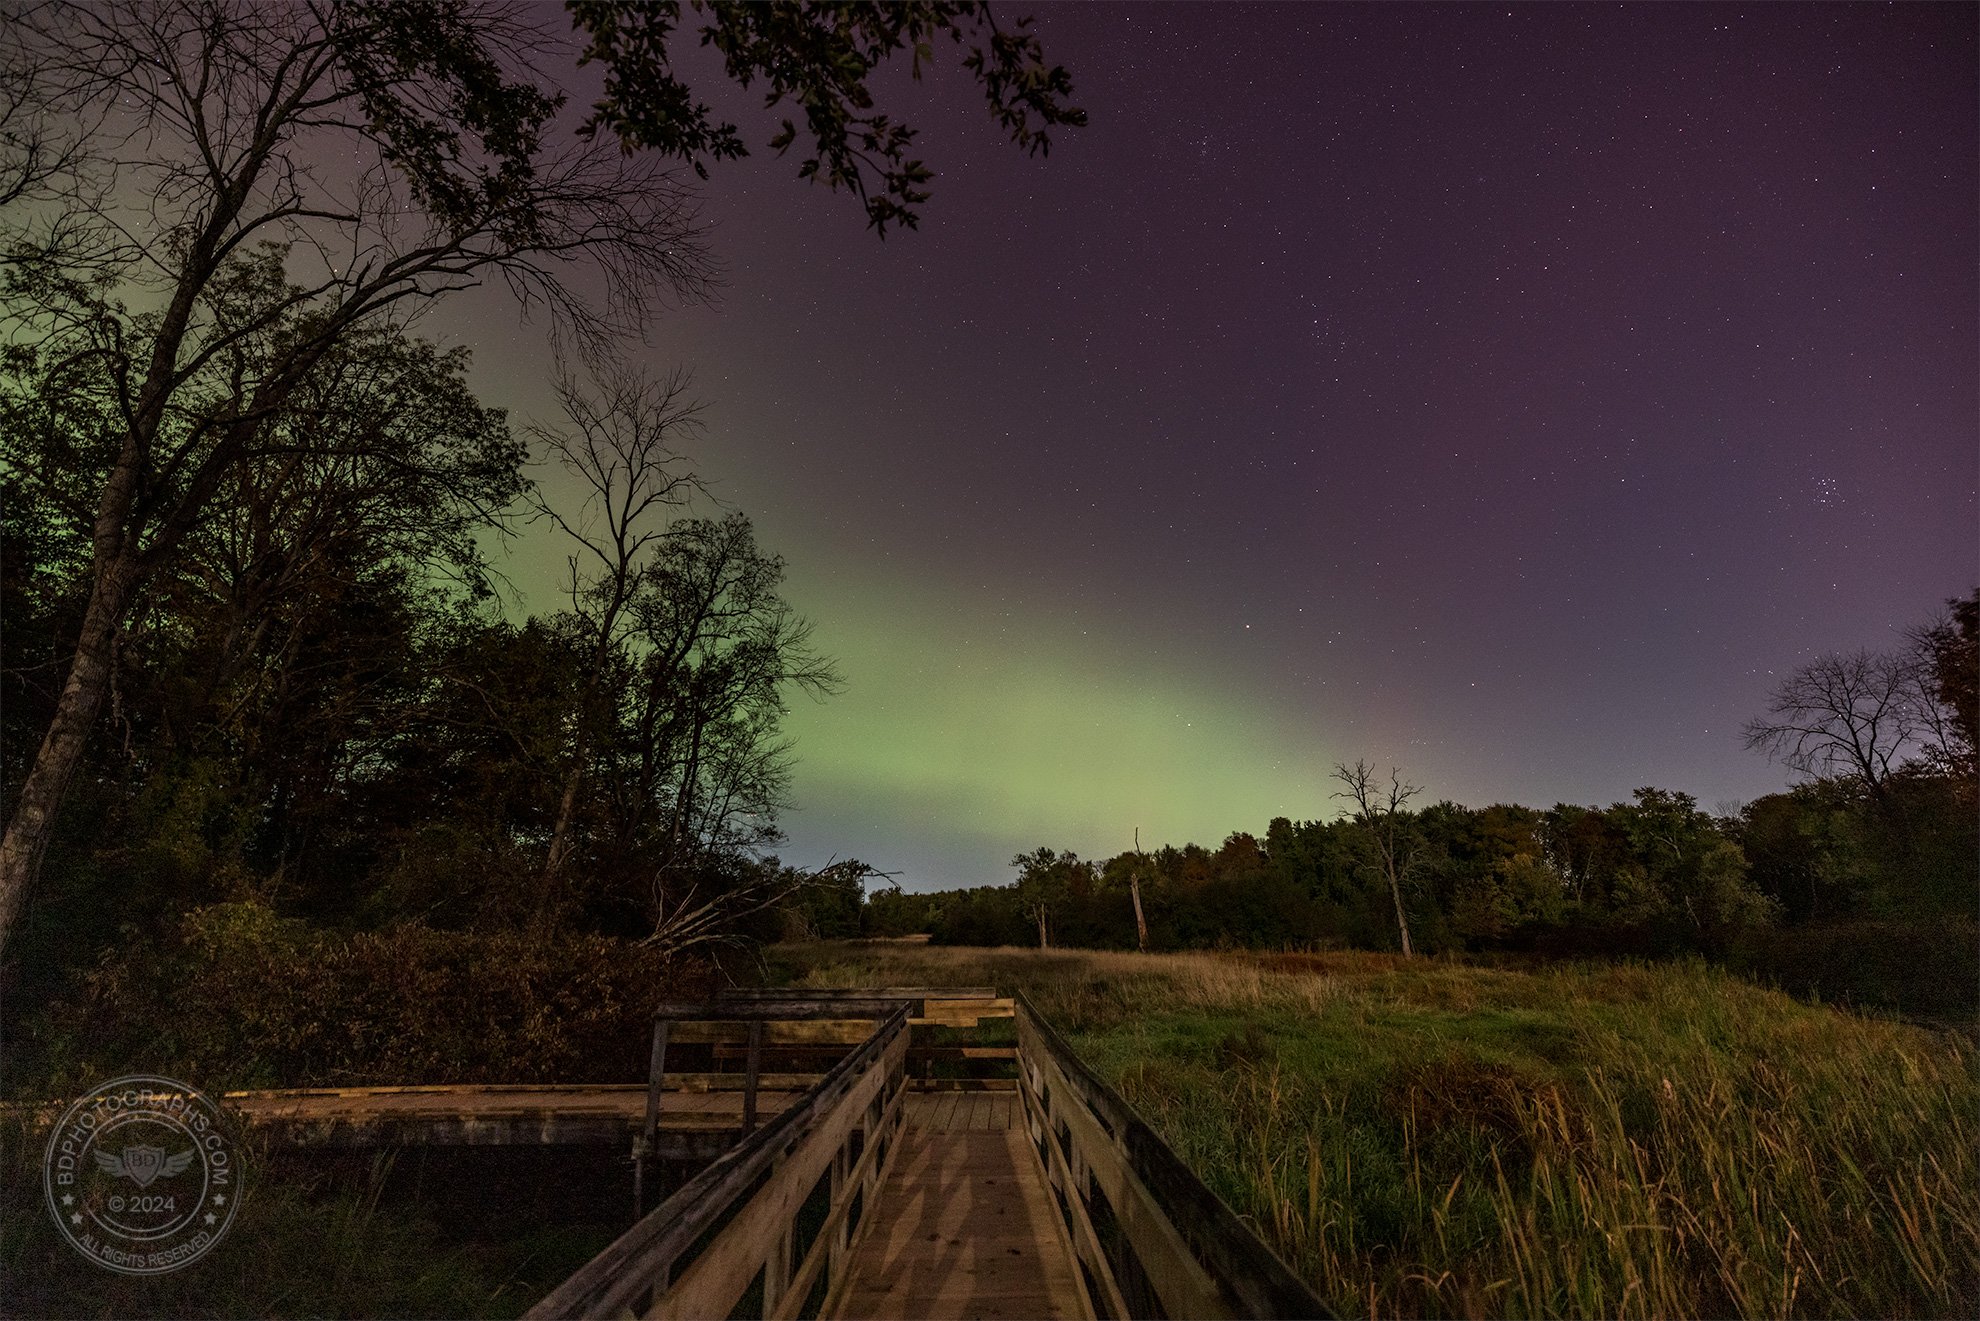
At first just a hint of green to the northwest. Truthfully, I would have been happy with this, but there was more to come…

More color looking northeast

Green and purple later on. The setting quarter moon behind me was so bright it cast shadows across the boardwalk.

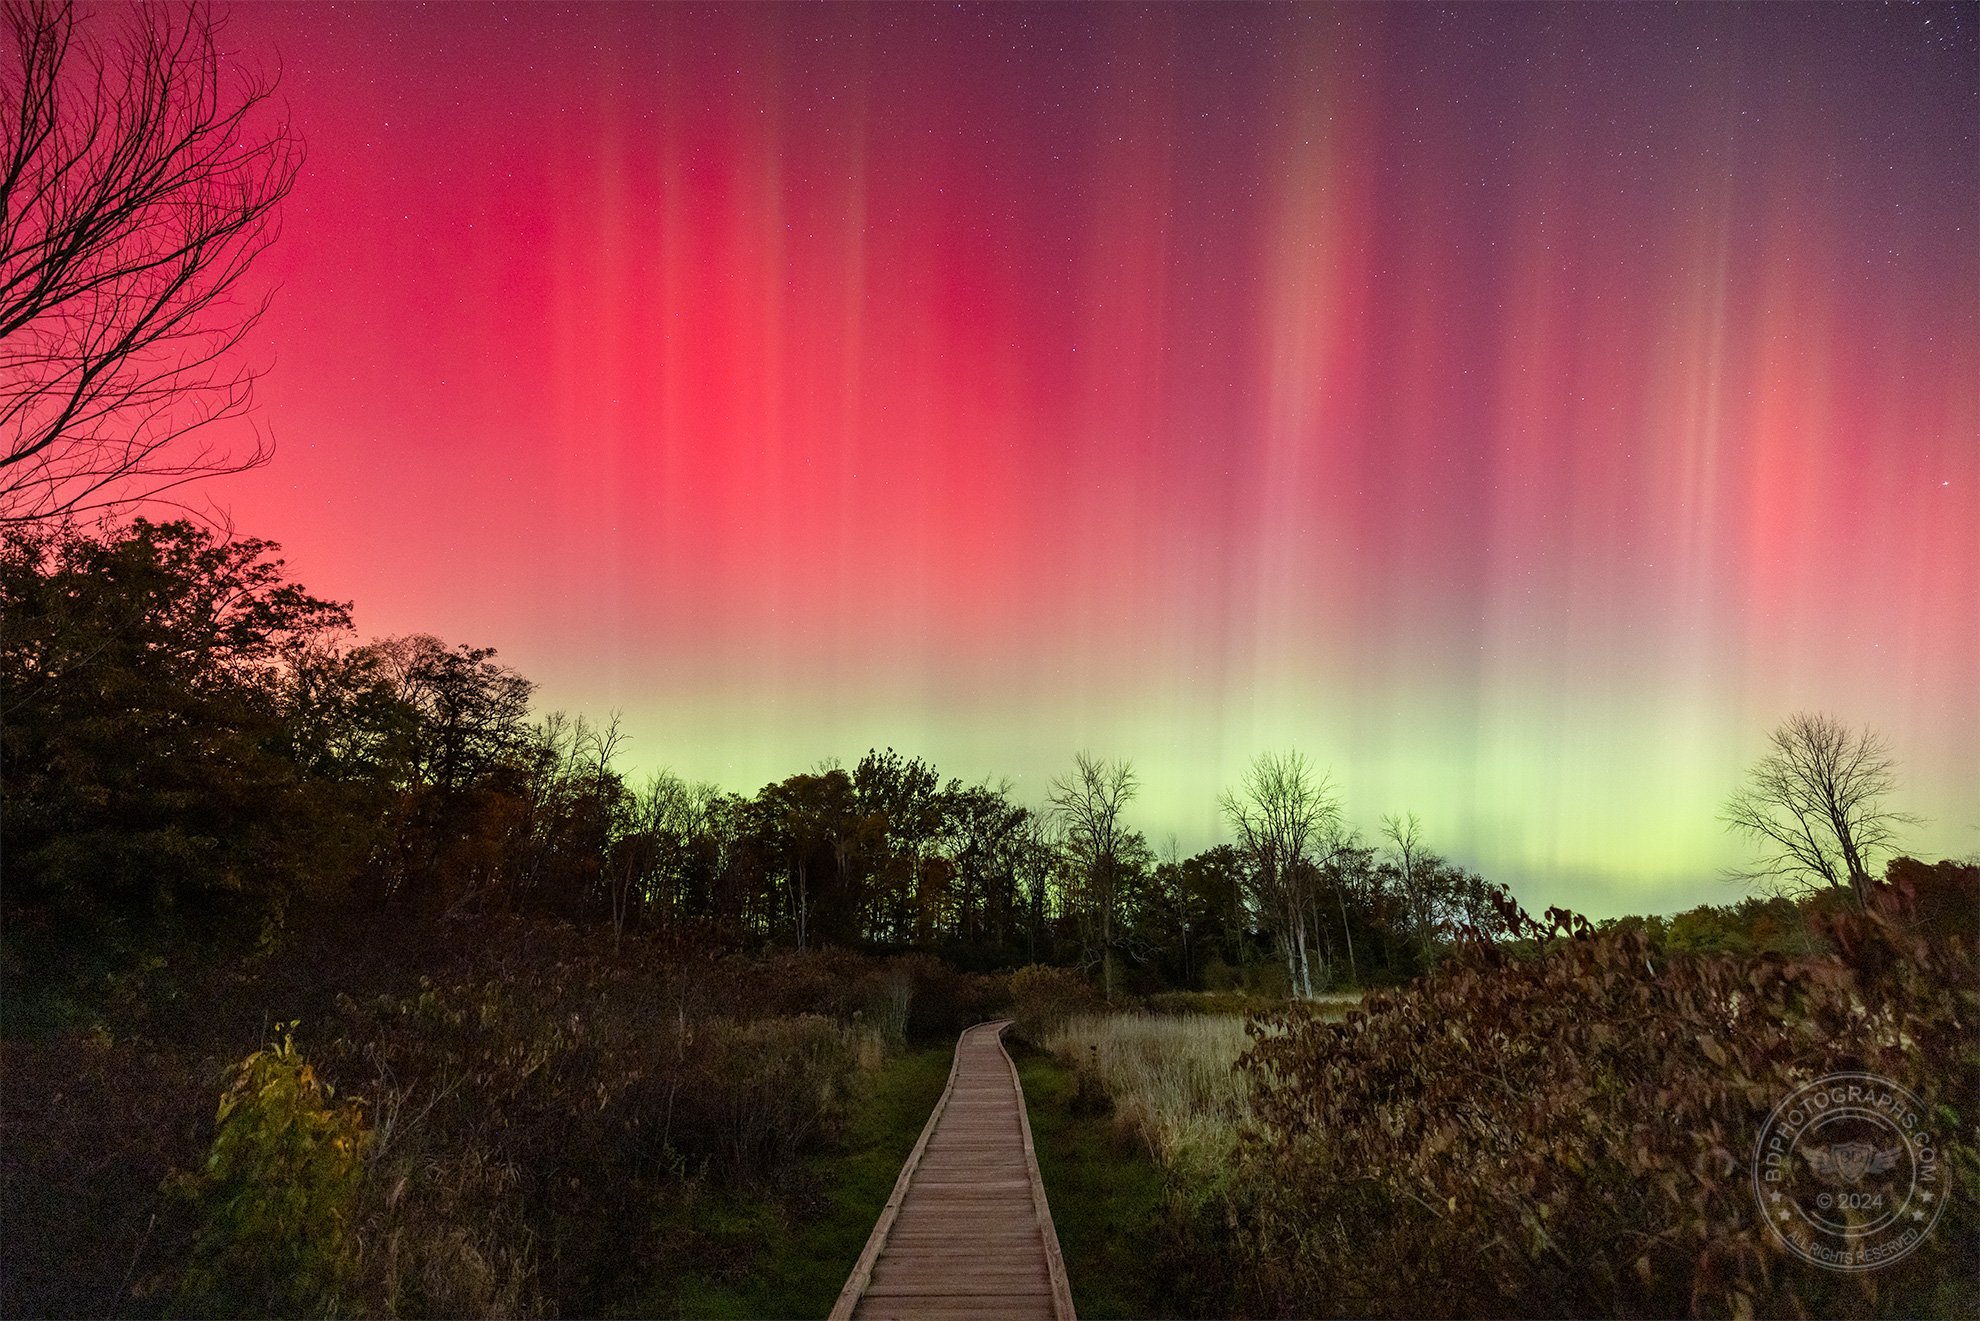
Showtime! A substorm flared up shortly after 10 PM. Moments after I captured this image, I set up for the “astro-selfie” at the beginning of this blog.

Some have asked me what the aurora looks like to the naked eye. Surely it cannot be as brilliant and saturated as these images, right? And the answer is yes, that is true of most celestial bodies and cosmic events, except perhaps for the moon. Nonetheless the aurora is very much visible to the naked eye and the colors and textures readily apparent. There’s no way we can see light the same way as a long camera exposure, but that doesn’t diminish the incredible experience of witnessing the northern lights. 

Approximation of what the human eye sees (left) versus the camera (right)

I shot this event with my Canon EOS R5 camera body stacked with a wide-angle RF 15-35mm F/2.8L lens. For a vast night sky, a wide field of view is the preferred choice, so most images were shot at the widest 15mm. 

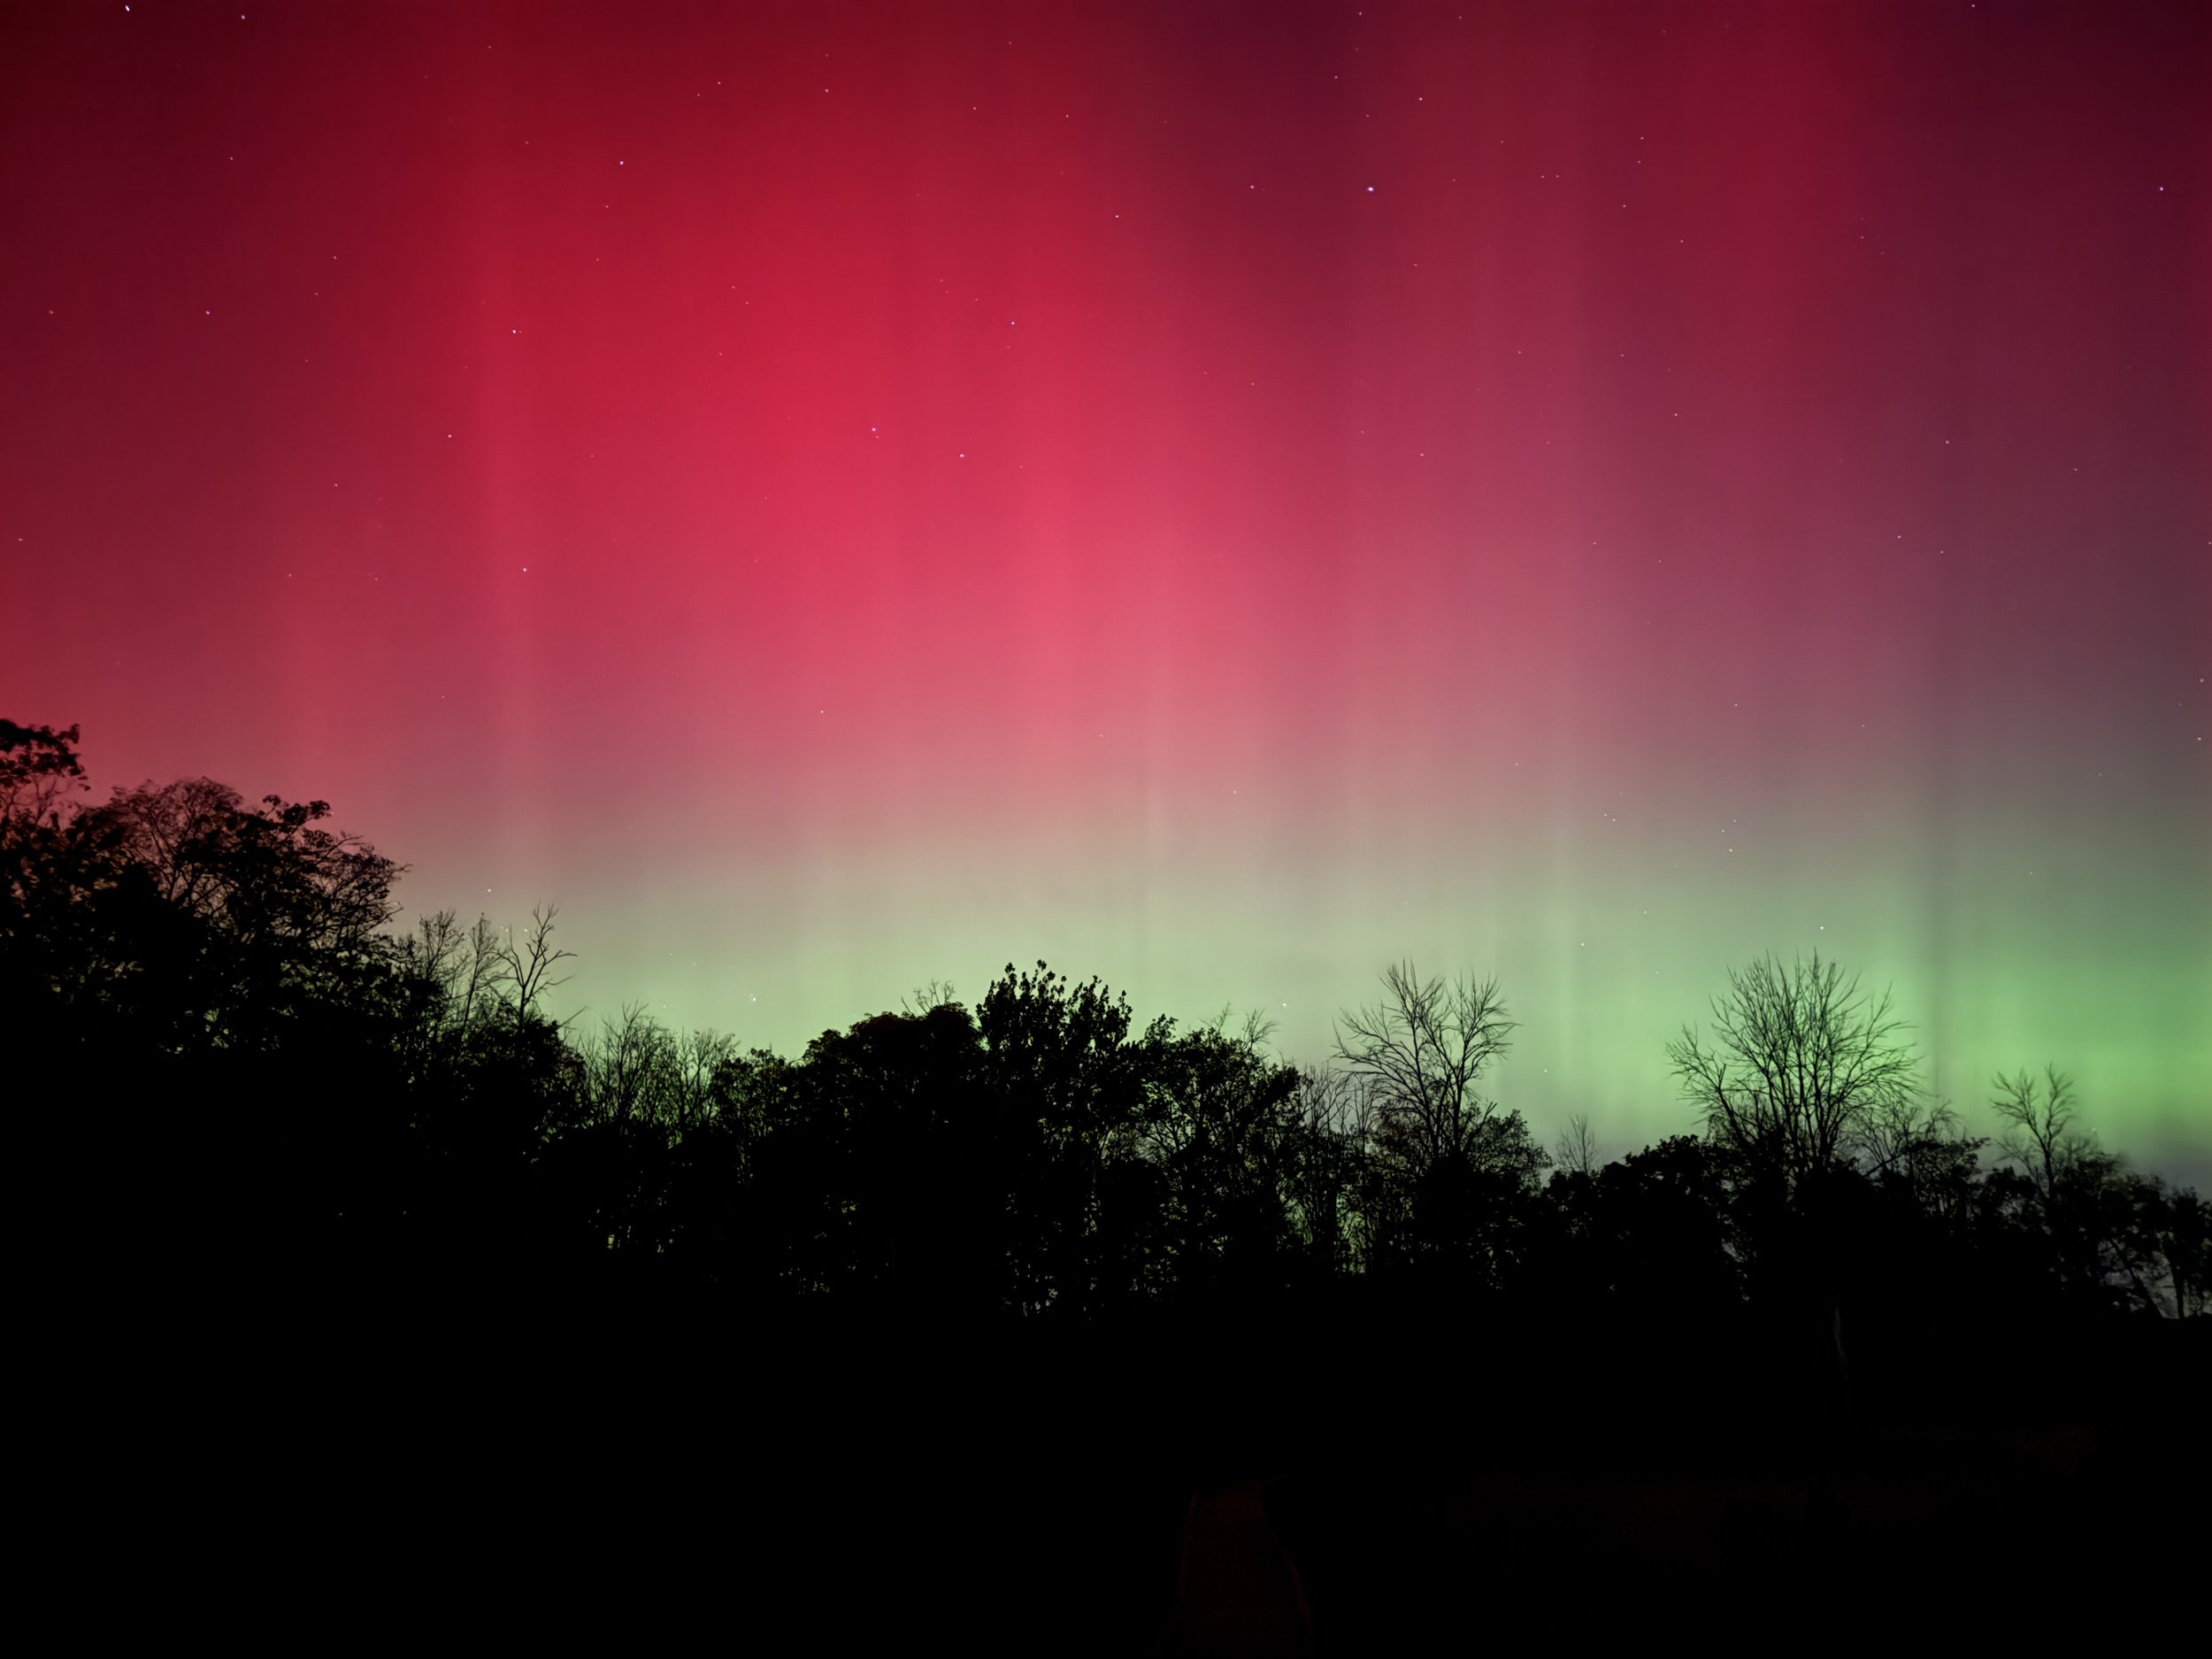
You don’t need an expensive camera to photograph the aurora, however. Many smartphones released in the last few years are packed with impressive optics. This image was photographed with my iPhone 15 Pro. 

iPhone exposure of the aurora in northern New Jersey. I also caught the aurora with my phone in Norway.

Fingers crossed for another aurora event sometime soon. And for clear skies to see it.
The Northern Lights

Note: In this post I use the terms “aurora”, “aurora borealis”, “northern lights”, and “the lights” interchangeably. 

The northern lights have been on my shortlist for years and this winter I finally visited the Arctic Circle to photograph them. It’s not for lack of trying: previous attempts in Alaska and Canada were uninspired at best due to low clouds and faint auroras — though in fairness both were outstanding wildlife trips where the northern lights were sought after as a bonus, so I can’t really complain too much. 

Try again: less-than-amazing attempts to photograph the aurora on previous trips to Canada (L), and Alaska (R) where the faint glow above the horizon barely registers as a sighting!

The aurora borealis, also known as the northern lights, is a natural phenomenon that has captivated people for centuries. The lights occur when charged solar particles collide with the earth’s upper atmosphere. The North and South Poles act like magnets drawing the solar activity to far northern and southern latitudes (the southern lights are known as the aurora australis — more on the scientific explanations here.)

As I was researching locations to observe the northern lights, I weighed the tradeoffs - in particular for Fairbanks, Alaska; Iceland; Yellowknife, Canada; and Lofoten, Norway. (I expect at some point to visit all of them!)

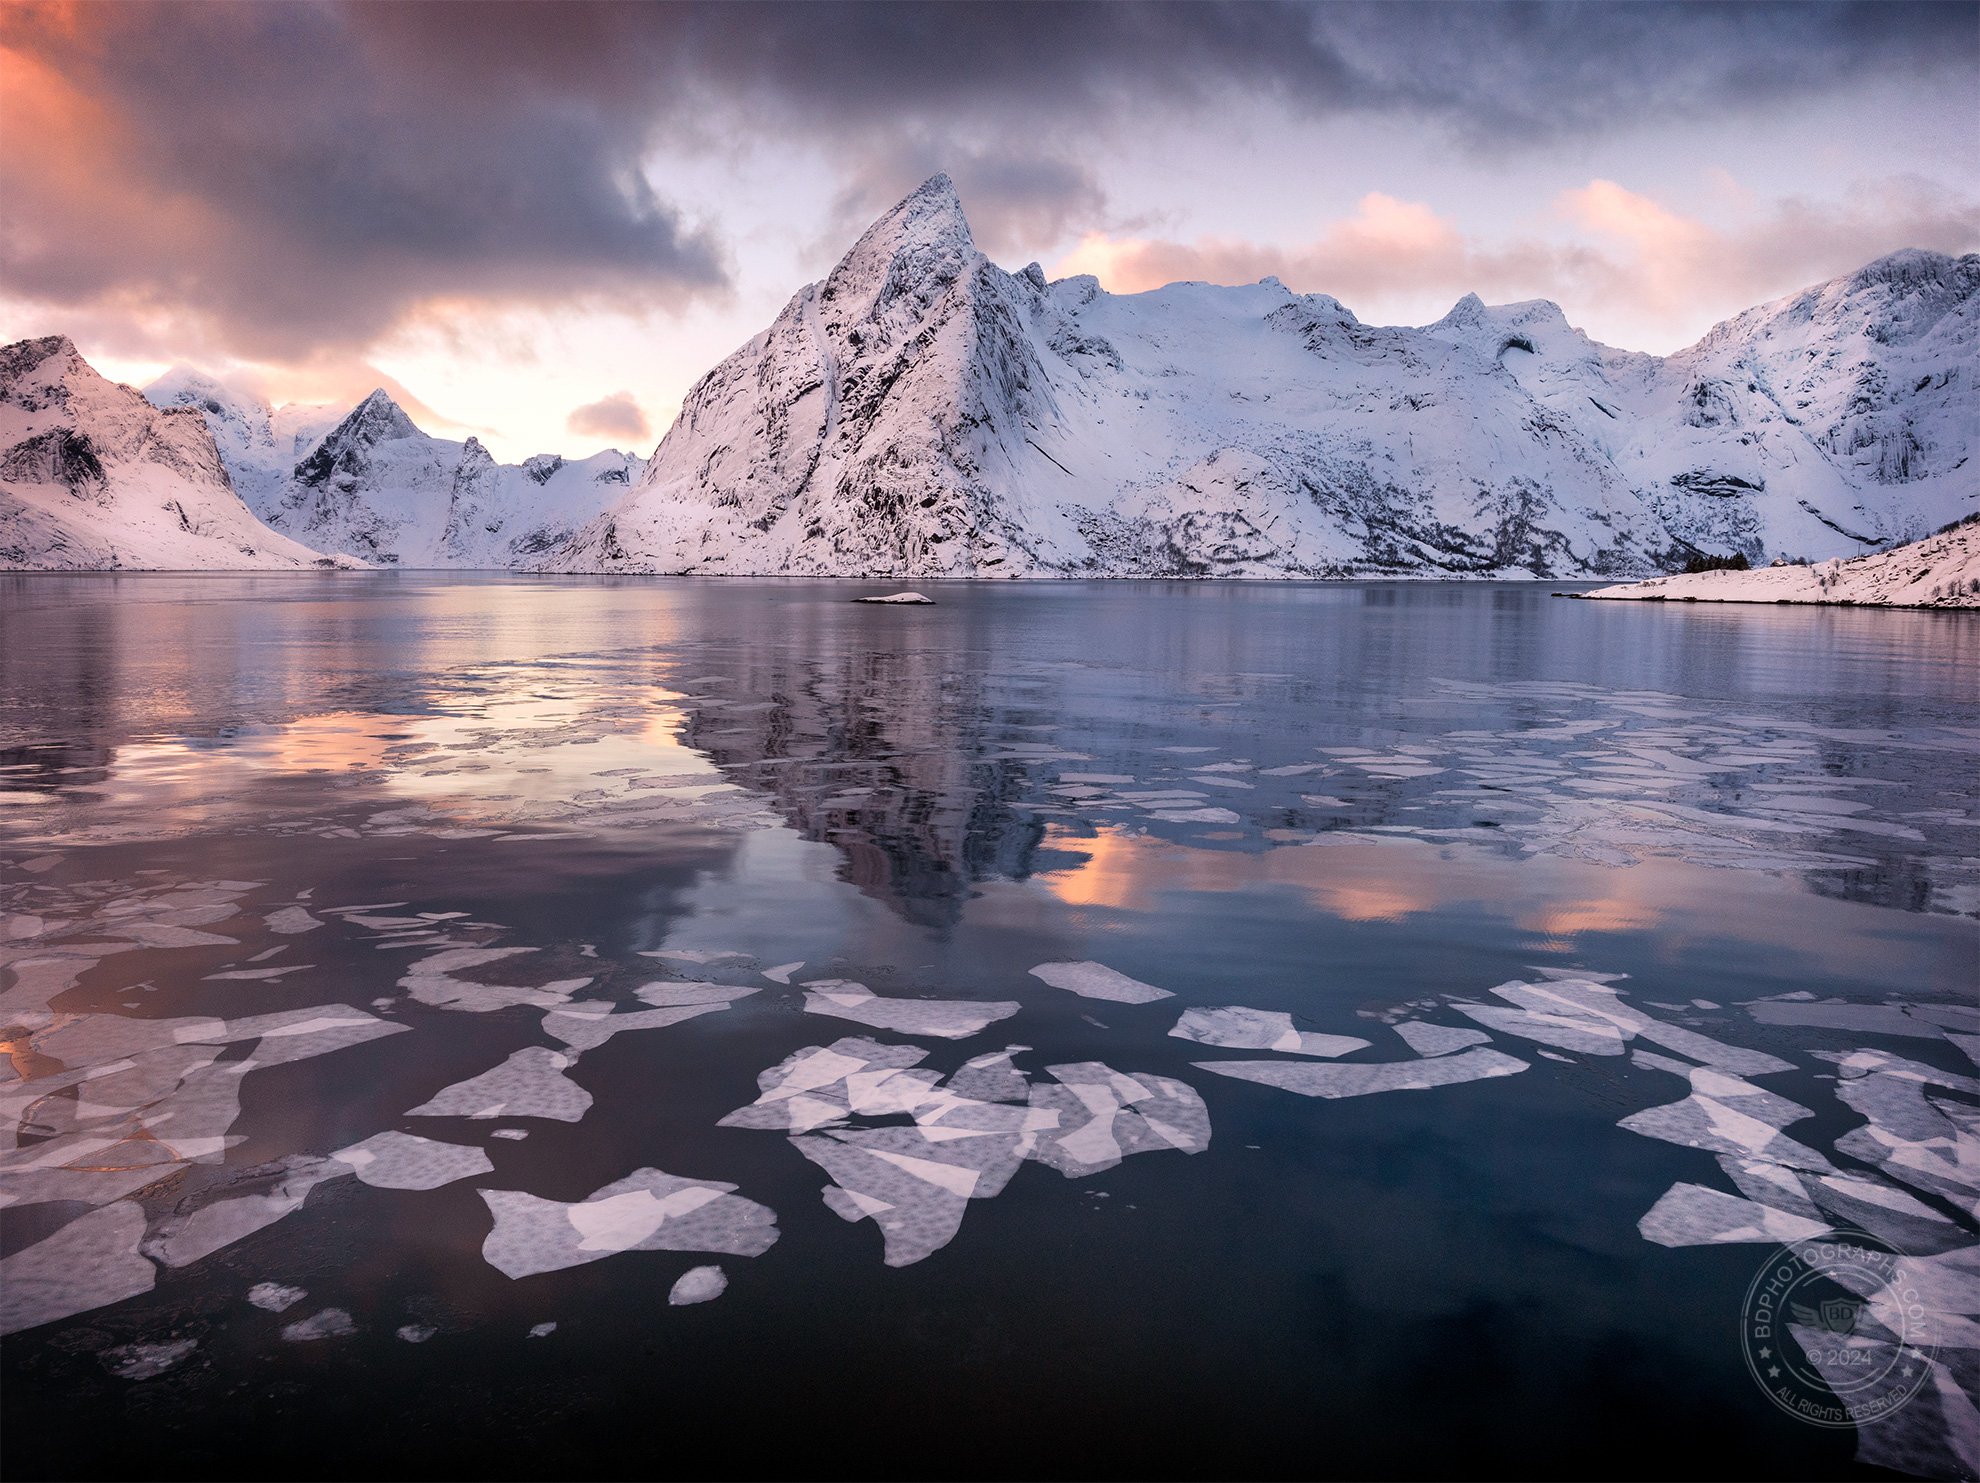
Lofoten has so much natural beauty that it almost guarantees portfolio-level images. This image was captured flying a drone very close to the surface of the water.

Fairbanks has excellent aurora sightings but lacks many photogenic locations otherwise. Iceland, while incredibly scenic, is prone to slightly less favorable weather in winter. Yellowknife, like Fairbanks, is relatively featureless tundra and is arguably the coldest of all the locations. Lofoten is the only location of the lot that is firmly within the Arctic Circle and the micro climates there can lead to more viewing opportunities, though weather is nonetheless unpredictable and dynamic. And like Iceland, Lofoten is visually beautiful so in the event that I did not see the aurora, I would be virtually guaranteed to come home with some great winter landscape photos.

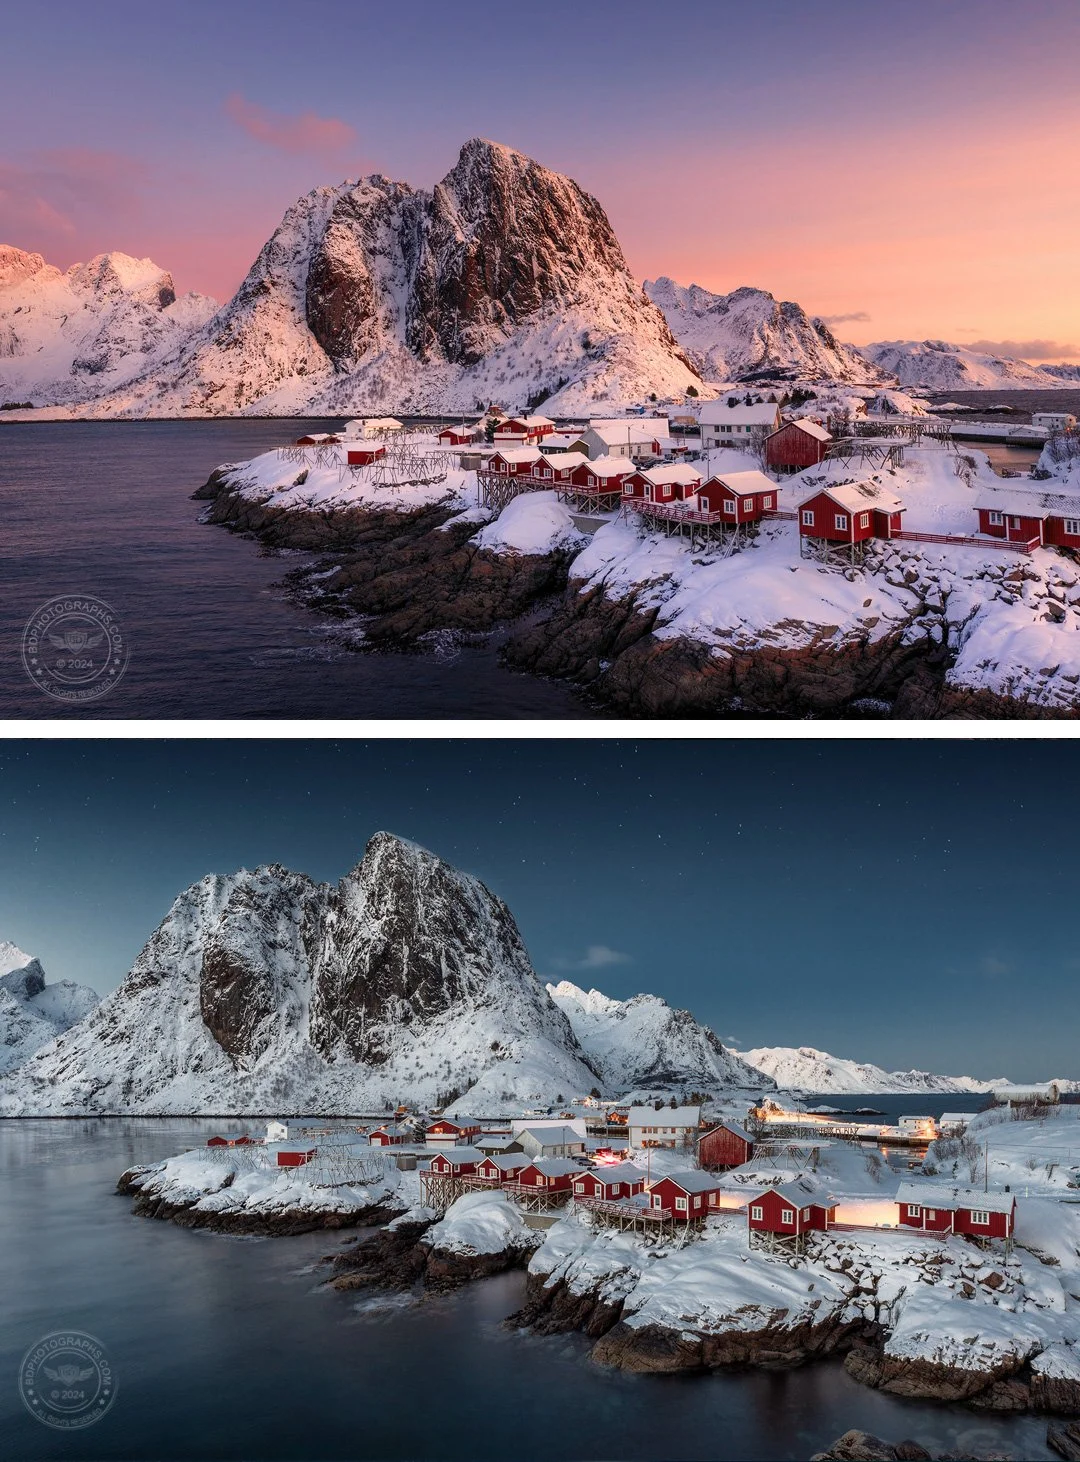
Some locations require visiting in more than one light condition. Above: a fishing village at sunrise and during evening blue hour.

I flew across the Atlantic on a three-flight hop up to Lofoten, descending through a snowstorm, and landing in a complete whiteout. I’ve seen my share of sketchy weather but I’m still not sure how those pilots made the runway. The next morning, recharged with a good night’s sleep and some hot tea, we began our tour of this Arctic wonderland.

Lofoten is an archipelago connected by land bridges in between small fishing villages. Towering fjords frame these tiny hamlets to the east and natural beaches to the west. Weather changes often and sporadically: one morning we left a sunny fishing town into a blizzard on the other side of the mountain. Of course, dynamic weather presents an opportunity in landscape photography and is without question preferred over blue skies.

Lofoten is an archipelago of towering fjords and picturesque seaside fishing villages. Photographic opportunities are everywhere.

Most of the winter imagery that I capture at home is of quaint New England vignettes: a covered bridge, a small church, a waterfall in the snowy forest, etc. One of my goals on this trip was to bring home images of snow-covered landscapes that were quite different from what I photograph at home: icy ocean scenes, Arctic fishing villages, snow-covered fjords, and, of course, the northern lights. 

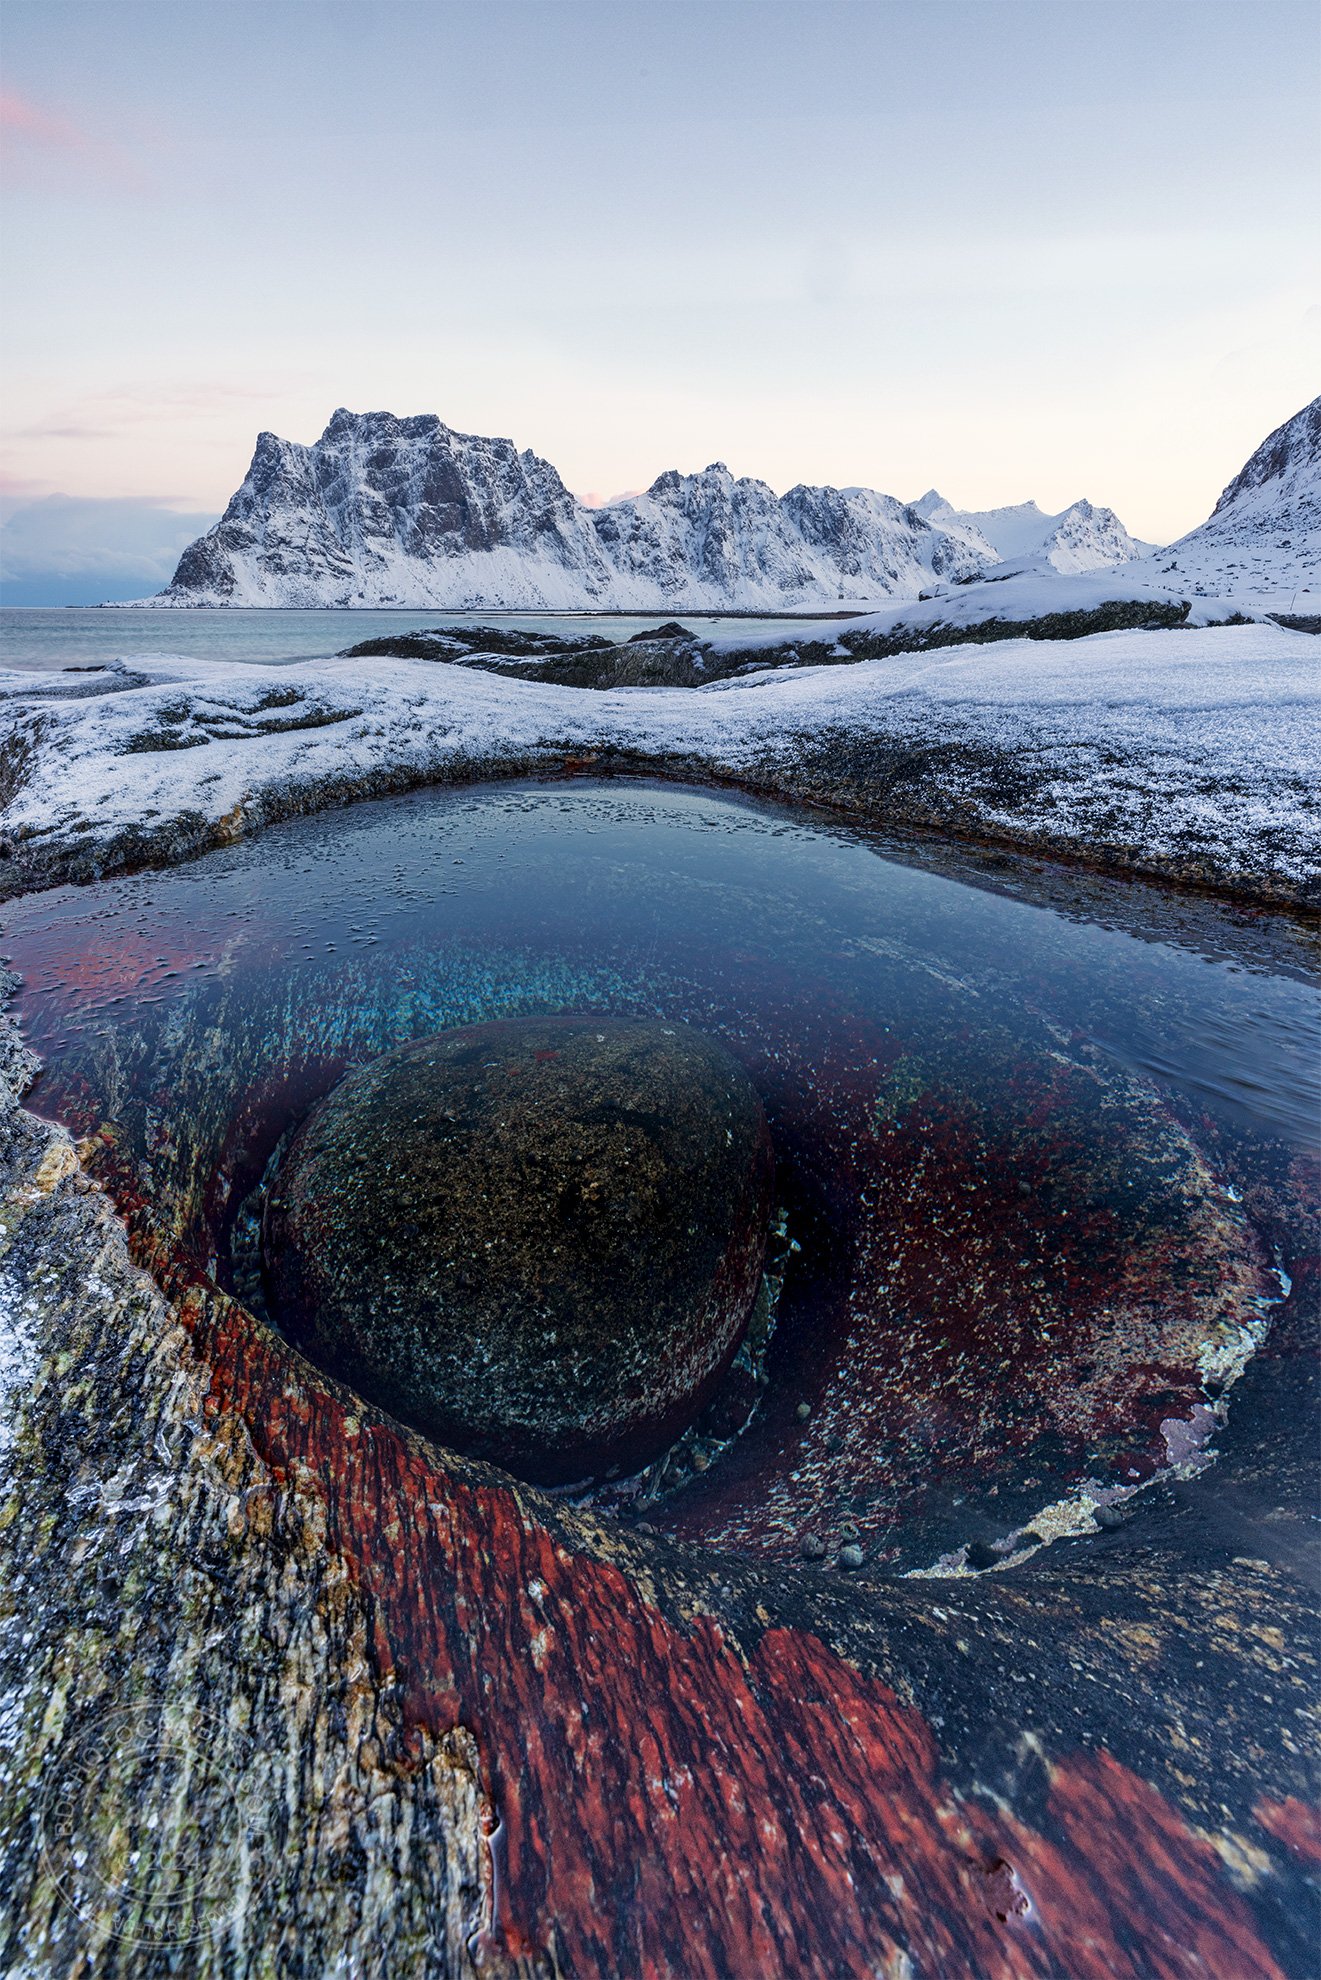
The “Dragon’s Eye”: a colorful tidal pool within a rock basin along an Arctic beach

Foreground elements need not be complicated: A snow-covered bridge creates leading lines toward the subject.

Each day I went out for sunrise and sunset, at times returning to the same locations to capture the same scene in different light conditions. After dinner, I monitored the aurora forecasts and waited for my guide to confirm shooting time if we were to get lucky with a light show. Aurora chasers know that clouds are the enemy, but even on clear nights, we still need good solar activity to see the northern lights.

This makes it very different from Milky Way photography: in the right time of year, all you need is a dark sky location, clear weather, and you are guaranteed to see the Milky Way. (Ok, it’s a bit more nuanced than that: certain latitudes won’t see it, and you need to know what time of night to be out, but for the most part the Milky Way is a slam dunk as long as the weather cooperates. The aurora is much more elusive.)

The afternoon weather was clear and expected to hold overnight. Solar activity forecasts changed suddenly from a KP 2 to a KP 5 (a higher KP indicates a greater probability of seeing the aurora). My aurora forecast app displayed live webcams picking up sightings in Finland and Sweden — things were looking promising. And then, at about 10:30 p.m., the northern lights arrived right where I was waiting for them. I worked with a few different compositions and took time to experiment photographing with my iPhone in addition to my primary camera

This shot required two exposures: one for the northern lights and a second to mute the harsh streetlights in the fishing village

Like other night sky images, the northern lights require a long exposure but there is a point of diminishing returns if the shutter speed is too long. Because the lights are a moving phenomenon, too long of an exposure will result in a cloudy green sky and potentially over-exposed image. I found that the sweet spot was between 6 and 13 seconds depending on what the lights were doing. Aperture generally was left wide open on my Canon EF 16-35 F/2.8L III lens. Of course night sky photography and long exposures require a sturdy tripod and I was quite pleased that even in strong winds my Gitzo carbon fiber tripod provided a stable platform.

In astrophotography, artificial light can become blown out even if the sky is correctly exposed and this was absolutely the case as I photographed the aurora over a fishing village. The trick here is to take at least two exposures: one for the sky and at least one for the village houses in order to mute the strong effect of the streetlights. The raw images are combined in post-processing to create a single image. This is a common technique in landscape photography when there is a high dynamic range of light.

Above: iPhone photo of the arriving aurora. Phone cameras have come a long way!

The portfolio shot: aurora borealis over Norwegian fjords

Aerial shot using a drone. Most drone enthusiasts go for shots from this perspective, but the drone can offer incredible opportunities to shoot anywhere you can’t plant your feet.

Prior to my trip I applied for a European drone license and passed the course to fly legally in most European countries. When the winds were calm, I sent up the drone for some aerial images and footage. One of my favorite photos was achieved flying quite low — just a few feet above the water. Many drone enthusiasts use it too narrowly as a device only for aerial perspectives, but I see it as a tool to take photos anywhere I can’t plant my feet. Today’s drones fold up and fit comfortably in a backpack and some of them like my DJI Mavic 3 are equipped with excellent cameras!

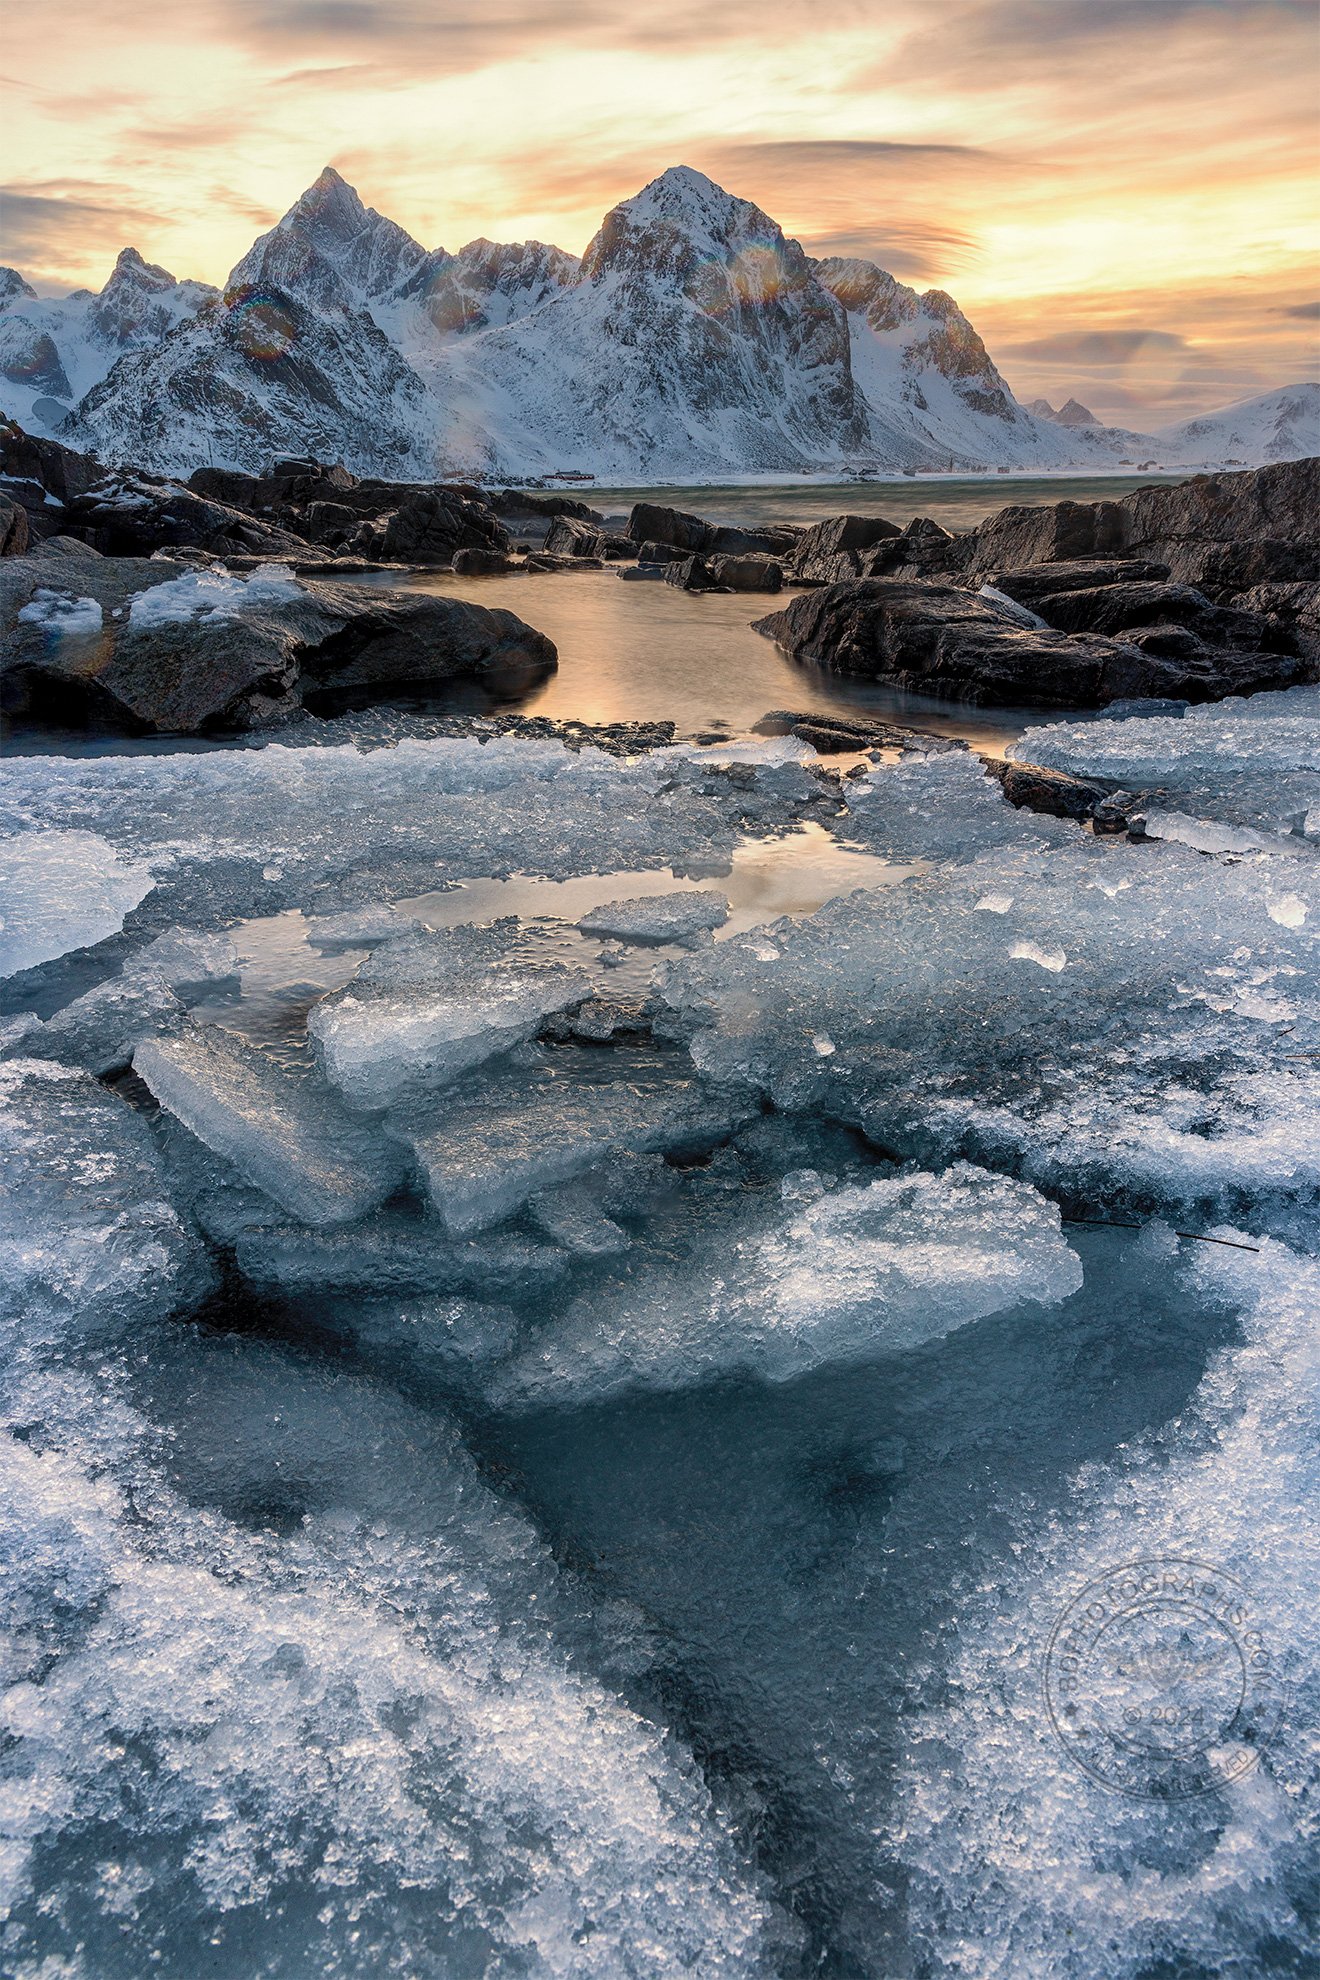
Ice shards and snow melt make compelling foreground subjects. Leading lines and geometric shapes are constantly changing as fresh storms freeze and thaw the shoreline.

In the daylight hours I sought interesting compositions to showcase the Arctic landscape. The snow-draped fjords are stunning by themselves, but adding a good foreground element can take a photo from pleasing to spectacular. It’s easy to overthink the foreground, but a basic subject is all that is needed. Along the beaches I searched for ice shards and geometric shapes. Other times a simple fisherman’s cabin provided a humble contrast to the powerful and majestic mountains. 

As the week developed, the weather grew progressively worse and I realized how lucky I was to see the aurora. And in the weeks after my visit, aurora sightings were scarce and much of the snow gave way to rain, washing away the magical winter essence. Outdoor photography is almost exclusively the domain of natural light and this means surrendering to whatever nature provides on a given day. Though my previous visits to northern latitudes did not yield successful aurora images, persistence and patience paid off: this trip was one for the books.

Tropical oasis? The water color on sunny days resembled the Caribbean.


The Amazing Milky Way

If you watched “The Amazing Milky Way” we travel together to the California desert to photograph the Milky Way in the late night hours. My videos are focused on the “experience” of photography and deliberately are not technical … so if you find yourself here it’s probably because I promised in the video to give you more details about gear and technique. I’ll offer one caveat before I make your head spin: astrophotography is its own beast, and there is an entire community of enthusiasts — some might say fanatics — with strong opinions. There’s no way to cover everything and every exception to the rule in a single blog post so I’ll offer the basics and some advice: there is a ton of information out there about photographing the night sky. Read, watch, practice, and discover what works best for you. Better yet, join me on an upcoming photoshoot. Ok, here we go:

GEAR

The Milky Way is big — very big — and you’ll need a wide frame of view to capture it. Most astrophotographers prefer a full frame DSLR/mirrorless camera body over a crop-sensor both for the superior low light performance and the wider field of view. The Sony A7RIII is arguably the champion in this area, followed by the Nikon D850 and Canon 5D Mark IV. The hardcore will have their cameras  modified for astrophotography, though doing so instantly voids the manufacturer warranty and necessitates the use of an additional filter for daytime shooting. If you’re just starting out I don’t recommend having your camera astro-modified — it seems to be something people do with a second (usually older) camera. 

Wide angle primes are the favorites for milky way photographers because they are sharper and faster than most zoom lenses. The Sigma 14mm F1.8 is a standout in my opinion, though I have had very fine results using a more standard EF 24-70mm F2.8L. I have tried using a slower F4 lens and find that it just doesn’t perform well enough for astrophotography — you’ll need to shoot wide open and it still doesn’t compete with faster glass. The beauty of an F1.4 lens is that you can stop down to 2.0 for a sharper and plenty-wide aperture. Astrophotography is one of those niche art forms so you’ll need to decide whether your more general lenses will suffice for the occasional astro shot, or if you need a specialty lens for nighttime shooting. Either way, I recommend something with a wide end near 16mm and F2.8 or faster. 

Tripods seem to be the place where photographers get cheap and I’ve heard more than one cautionary tale about skimping on quality. I understand the desire to pour most of your hard-earned dollars into good glass, but if that investment is not resting on something firm and dependable, you could end up spending much more than you want to. I have never been disappointed by the Gitzo Systematic system, and am also quite happy with the more affordable Sirui EN 2204.


Interested in photography gear and supporting small business? Check out Adorama


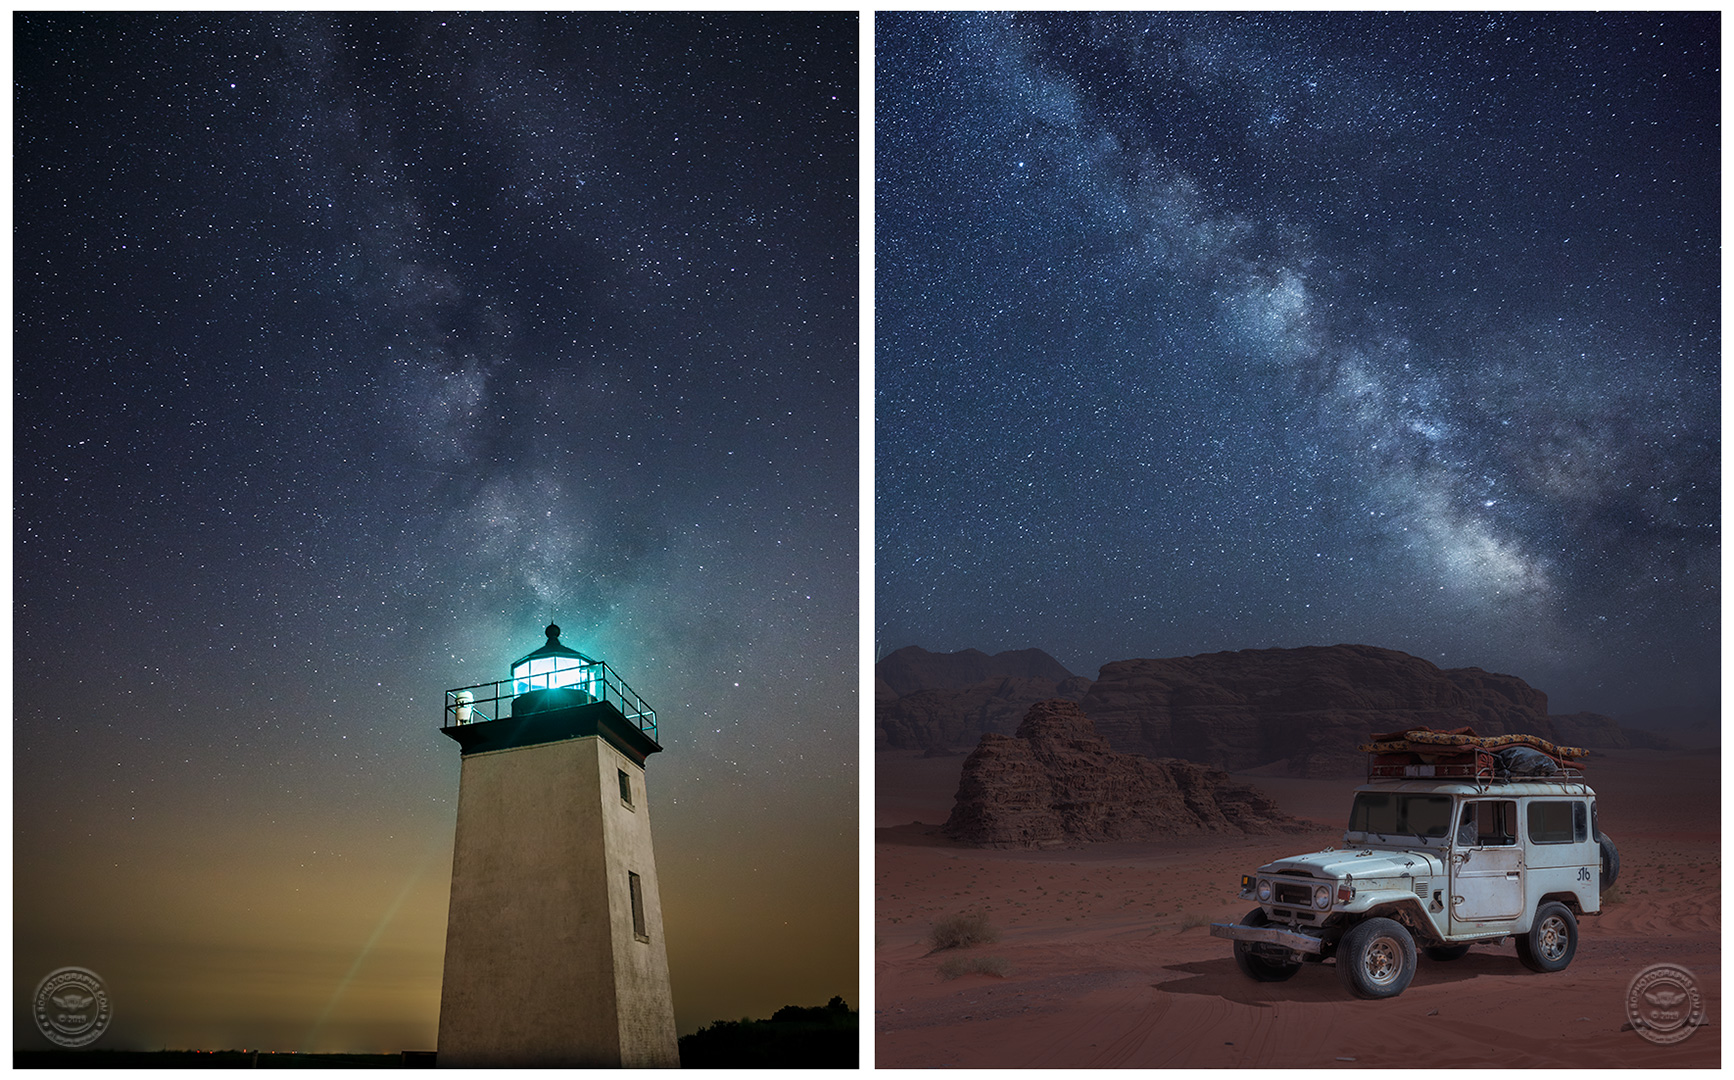
Two different techniques. The left is a single shot image — I hitched a ride on my friends dinghy to get out to this lighthouse and had fifteen minutes to shoot. The right image is a time blend, where the foreground was shot during blue hour and the…

Two different techniques. The left is a single shot image — I hitched a ride on my friends dinghy to get out to this lighthouse and had fifteen minutes to shoot. The right image is a time blend, where the foreground was shot during blue hour and the night sky several hours later. Both were shot with a 24-70mm lens at 24mm.

TECHNIQUES

Single Shot: The simplest and easiest method in which the sky and foreground are captured in a single exposure. This is how most people start in astrophotography and is the one to use if conditions change rapidly (e.g. partly cloudy night with changing visibility) or if you are in a hurry.

Panorama/Vertorama: just like the daytime use of this technique, several overlapping shots are taken to capture a broader scene, and then the exposures are stitched together in post-processing. This is a good alternative to the single shot if a) your lens isn’t wide enough to capture the scene, or b) you want a higher-resolution image.

This image is a 7-shot panorama of vertical (portrait-oriented) images. I used a medium-wide 28mm prime lens.

This image is a 7-shot panorama of vertical (portrait-oriented) images. I used a medium-wide 28mm prime lens.


Interested in starting a website or blog? How about a place to display your photos online? I use Squarespace as my platform. Get started for free — click the image below.


There are several methods of multi-shot astrophotography but they’re all meant to accomplish the same goal: to increase the signal to noise ratio in the shots. Because night photography is shot in low light, we typically need to raise the ISO (i.e. sensor sensitivity) which results in greater image noise. To compensate for the greater noise, astrophotographers use different techniques:

Stacking: The same shot is taken multiple times in immediate succession. The images are “stacked” in a post-processing software application like Starry Landscape Stacker. Because noise is slightly different in each exposure, the software uses statistics to retain the consistent pixels (signal) while discarding a lot of the noise. Stacking is my preferred method of image-making, but it requires advance planning and significant work in post.

Tracking: The camera is mounted on a tracker (sometimes called a “star tracker”) which is a device that moves in counter-rotation to the earth’s natural spin. This permits longer exposures (where a longer shutter means a lower ISO) without the appearance of star trails*. Some photographers combine tracking with stacking. Unless the image is of the sky only, tracking necessarily requires blending with separate shot(s) (in which the tracker is turned off) for the foreground. Once again, this technique requires a lot of work in post.

Time Blending: In this method the foreground is photographed while there is still some available natural light, such as during blue hour. This permits a lower ISO shot to be blended with sky images shot later in the night. The classic time blend requires leaving the tripod — unmoved — in the exact same spot for both shots. A more liberal version of this would be to return to the same spot for the later shot. Purists will consider this a composite image — not necessarily a bad thing, but something that could be disqualifying for photo contests or publication.

Compositing: Just as the name implies, a foreground and sky — which may be from different locations at different times — are combined into a single image in post. I am not opposed to compositing as a technique to achieve a realistic outcome, but I don’t care for impossible shots. Humor the rest of us and make it seem real. When a photographer was published in National Geographic with obvious fakes, the astrophotography community went ballistic. I’ve seen too many ridiculous images of the Milky Way arching over Manhattan (light pollution makes this impossible) — made even more absurd by the fact that the camera is looking up Broadway (i.e. facing north, where the Milky Way would never be). To me these types of images belong next to posters of unicorns and dragons at the mall fantasy shop.


I use Adobe Photoshop and Lightroom to process all my images. Try them for free using this link.


My preferred technique: this image is stacked, 6 shots for the sky, and a single image (with flash) for the foreground. In some instances I also stack the foreground, especially when using natural light only.

My preferred technique: this image is stacked, 6 shots for the sky, and a single image (with flash) for the foreground. In some instances I also stack the foreground, especially when using natural light only.

SETTINGS

This is the question I get more than any other: what were your settings? Usually the answer is “I don’t remember but it was something around …” Settings really depend on the specific shot and the light in a particular scene. The rule of 500 is a good guideline: divide the focal length of the lens into 500 for the maximum shooting time to avoid star trails*. For example, with a 24mm lens: 500/24 = 20.83, so you wouldn’t want to shoot for more than 20 seconds. Use this as a boundary more than prescription — I find that pulling back from that limit is a good idea if you want the shot viewed in any decent resolution.  A typical setting for my astrophotography is Aperture 2.0-2.8, Shutter 15-20 seconds, and ISO 5000-6400.

*Star trails: in a long exposure, the rotation of the earth relative to those stars makes them appear as streaks or lines rather than dots.