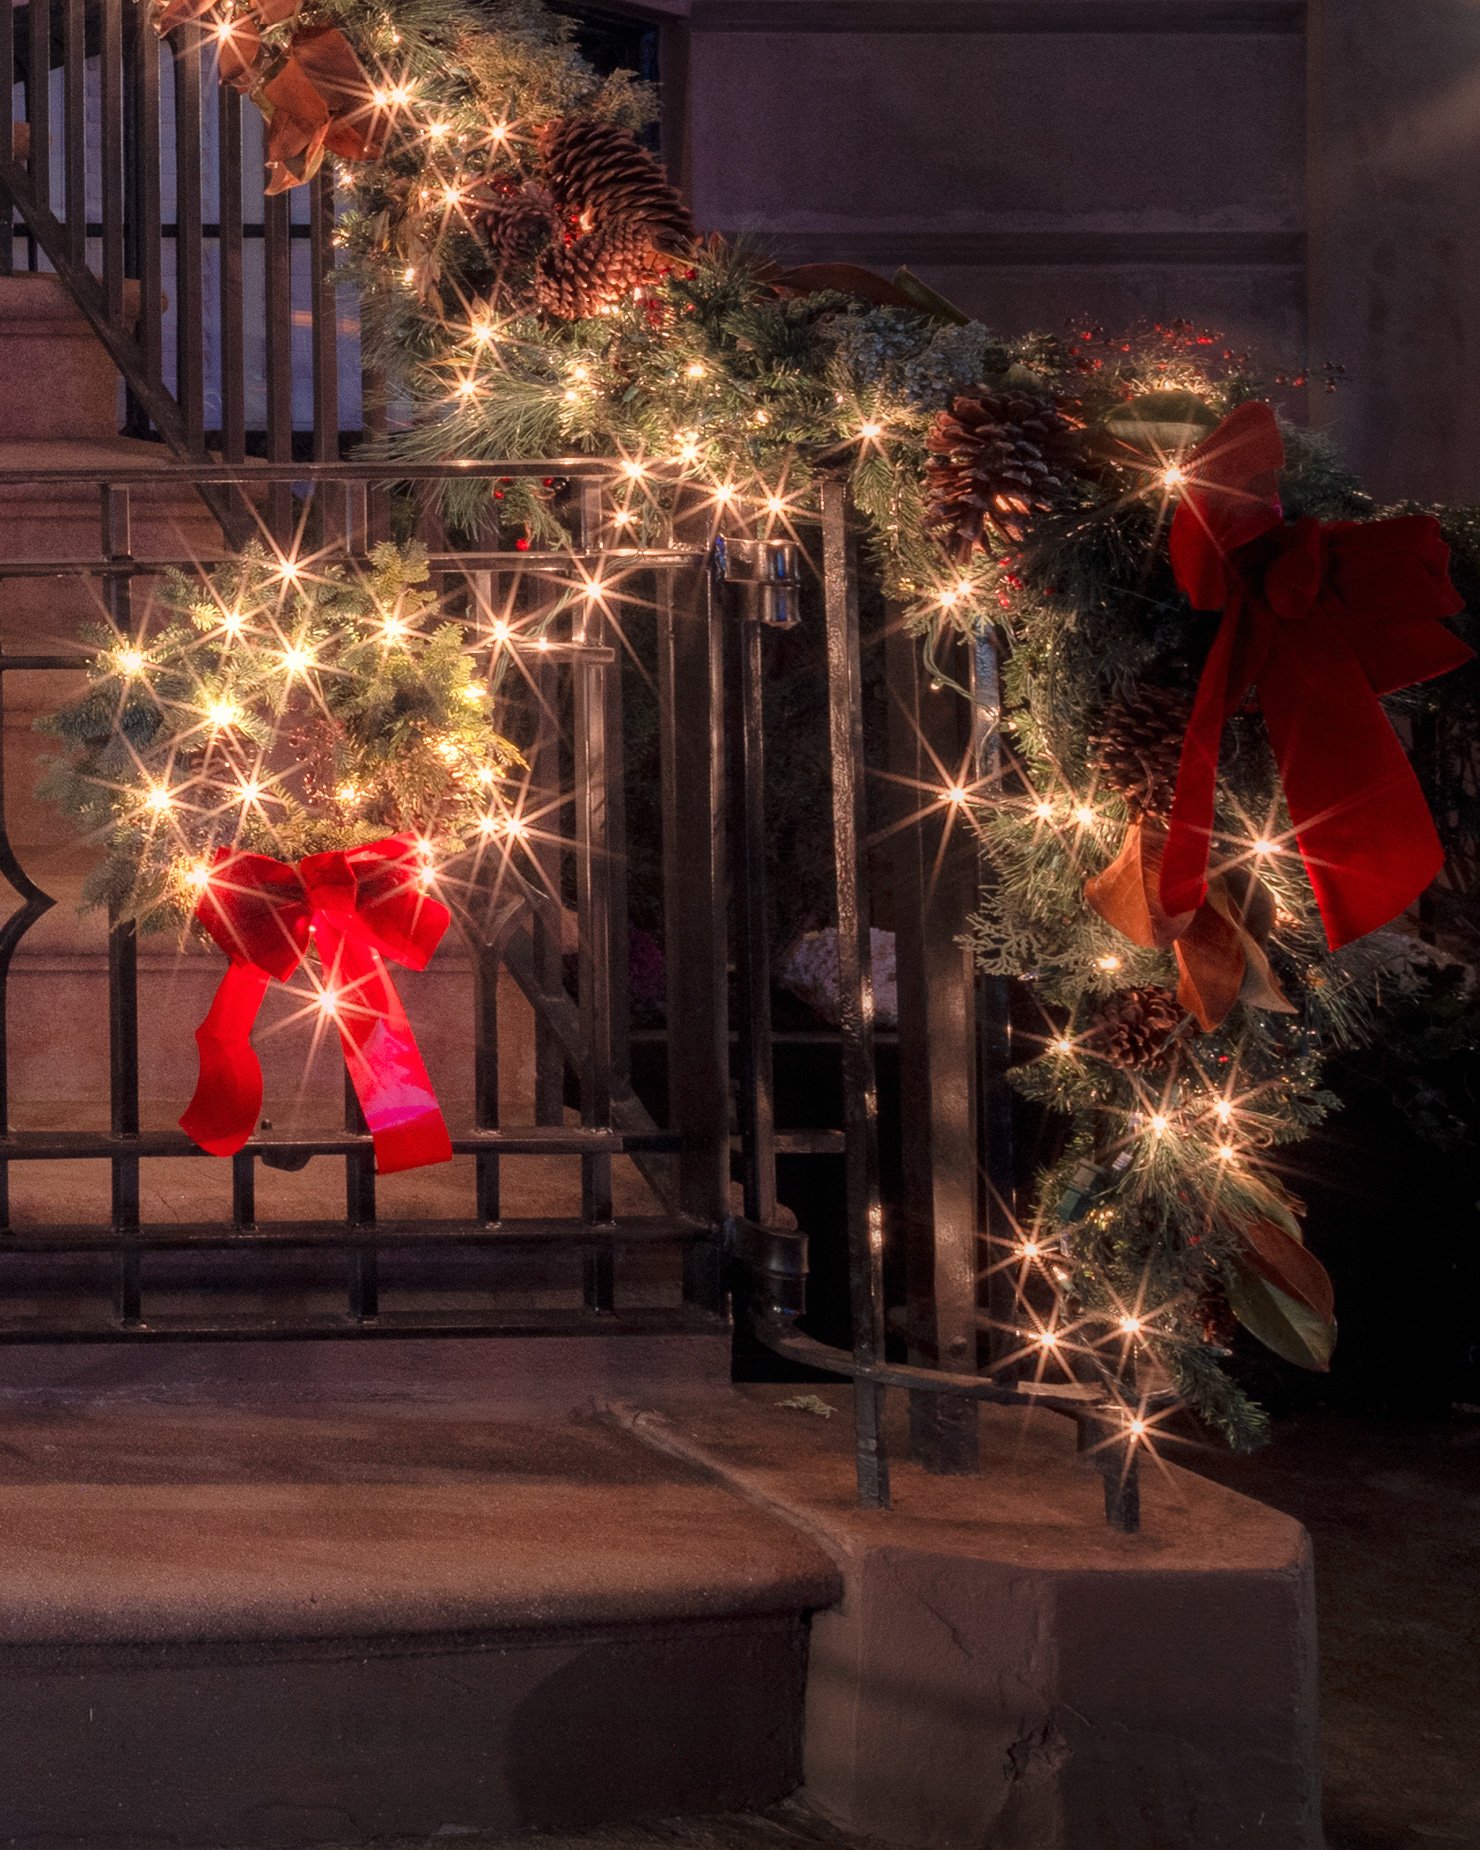
The holiday season truly is a magical time of year to visit New York City. You’ll be hard-pressed to find a more festive city between Thanksgiving and New Year’s Eve (though I don’t recommend ambling anywhere near Times Square on December 31st). The most famous displays are in store windows along Fifth Avenue in Midtown, and the centerpiece is of course the tree-helmed ice rink at Rockefeller Center. There are many more commercial displays throughout the city, but some of my favorites to photograph are the ones put up by resident New Yorkers outside their homes. Manhattan doesn’t have the space for giant lawn fixtures, but that doesn’t stop it from having truly elegant Christmas decorations in many neighborhoods.
The Upper East Side of Manhattan has some of the most elegant displays in front of beautiful townhouses.
Photographing holiday lights is a simple task for most: the display is a stationary subject you can easily capture with a phone camera. But producing a high quality image is trickier than you might think. My first step is to find the right subjects — generally I find the Upper East Side of Manhattan to have the best residential holiday displays in the city. (If you want a more extravagant but suburban display visit the Dyker Heights neighborhood in southern Brooklyn — it is famous for its Christmas decorations.)
Another beautiful Upper East Side display.
I recommend a wide angle lens (mine is a tilt-shift 17mm) on a full frame camera. One challenge is that most streets in New York are lined with parked cars, so photographing from across the street means you’ll have a row of ugly vehicles in your shot). There isn’t much alternative to setting up on the narrow sidewalk right in front of your subject, or just off to one side — thus the need for a wide angle point of view.
I’ve seen photographers shoot in daylight, but holiday lights often are not switched on until dusk. I prefer evening and nighttime images. Since we’re relying on artificial but ambient light from the displays, streetlights, or home lighting, we require a relatively long exposure: anywhere from half a second up to 30 seconds. A tripod is a must with these long shutter speeds.
My favorite technique is to “stop down” or tighten the aperture to a narrow range, usually f/16. Narrow apertures on wide angle lenses produce brilliant “starburst” renderings of bright lights by effectively forcing the camera to “squint”. This creates a twinkling of the lights for an added magical touch to the subject matter.
The tradeoff to a narrow aperture is that it increases the required exposure time and potentially the ISO.
“Twinkling” lights or starburst effects are achieved by stopping-down (i.e. narrowing) the aperture to f/16 or less.
While a 25-or 30-second exposure is not a problem for a tripod-mounted camera, if there is even a trace of wind it will cause motion blur on any moving elements in the image (tree branches, or loose hanging ornaments.). Therefore it’s best to shoot on calm evenings with low wind. You can increase the ISO to help bring down the exposure time, just remember that higher ISO produces more noise and reduces image quality.
Lastly, exposure for holiday lights can be tricky. I typically underexpose my image by about two-thirds stop or even a full stop to avoid blowing out the bright highlights. In post processing, I raise the shadows and increase exposure to bring out the background and low-lit areas. I also apply vignetting and selective dodging and burning to draw the eye toward the subject. For a dreamy look I sometimes apply a minor Orton effect. Lastly, I use a selective color filter to tilt the greens toward the cool side — think blue fir tree — for a more wintry look.
Use a selective color filter to tilt the greens toward the cool side for a more wintry look.


