Landscape

The Secret to Magical Forest Scenes

As a rule I do not use many filters in my photography. I prefer to capture the image as neutrally as possible and to make adjustments as needed in post processing. While I don’t use filters at all in my underwater or wildlife photography, I occasionally find them useful in landscapes. One of my favorites that I do carry is a circular polarizer, which we’re going to see in action today. The circular polarizer is a physical piece of glass that screws into the threads in front of the lens. The filter is rotated to achieve the desired amount of polarization. Just like polarized sunglasses, a circular polarizer cuts down glare and improves clarity. If you’ve ever worn polarized sunglasses while skiing or fishing, you’ve seen firsthand the significant difference in the optics. Unlike some other physical filters, such as variable neutral density filters, the effect of a circular polarizer is difficult to achieve using photoshop or other editing software. And the results are quite dramatic!

These two images are from a trip to Olympic National Park and the temperate rainforests of Washington state. I used my Canon EOS R5 camera with a 24-70mm F/2.8 lens. The photos were captured less than 30 seconds apart — one with no filter and the second with full polarization. Same shutter speed, same aperture, and minor difference in ISO as full polarization also darkens the image and requires slightly greater exposure settings. I think you’ll agree the resulting images look very different:

The polarized image has greater color saturation and dramatically less glare in certain areas (see the circled areas in both images below). The unfiltered image has more contrast but appears “crunchier” with harsher highlights in the trees, branches, and rocks. 

Forest and waterfall scenes are some of my favorite places to use a polarizer for its softening effect and painted look. Which image do you prefer? 

High Desert Adventure

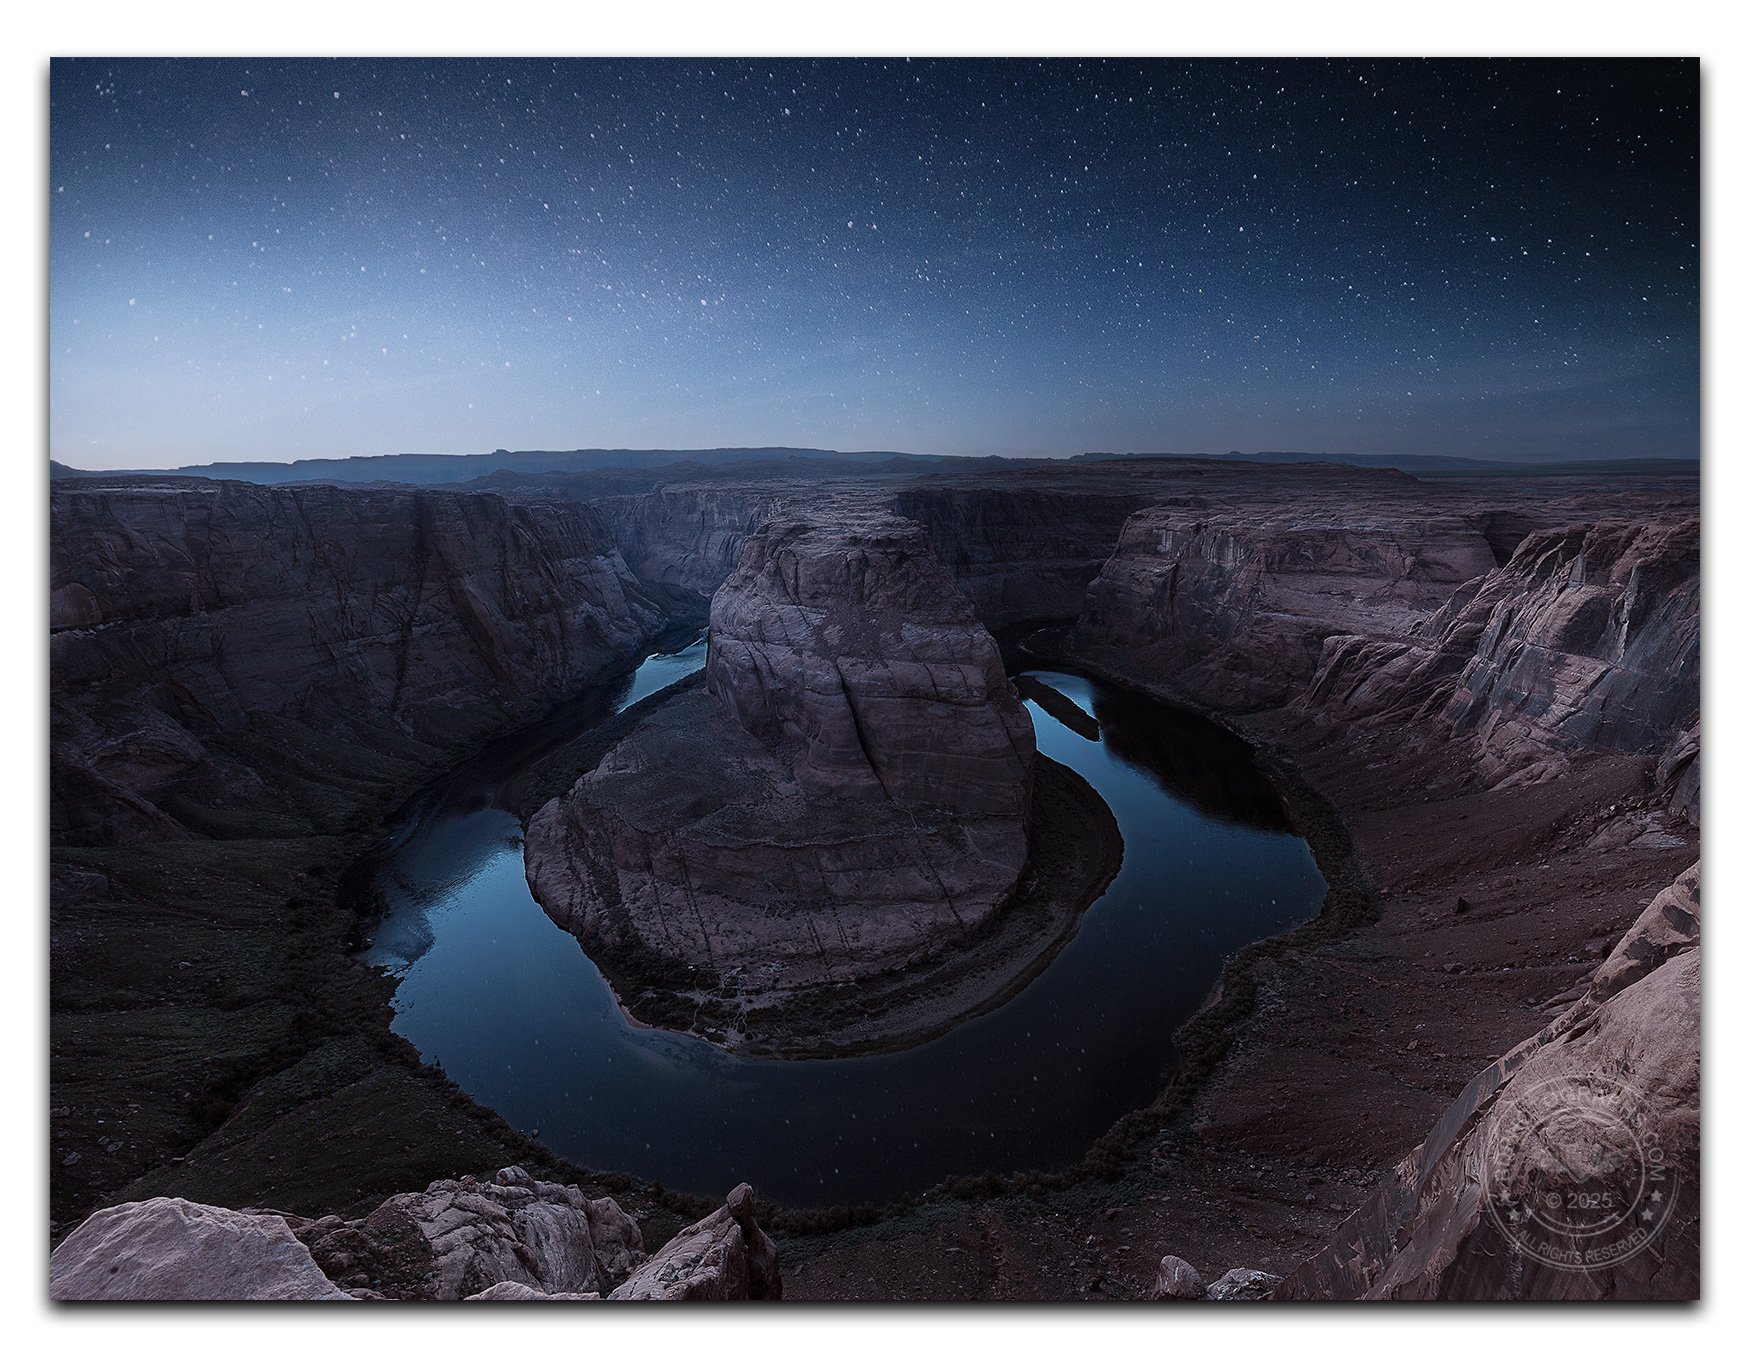
A typical canyon view in Utah. It is easily a top contender for the state with the most natural beauty.

I’ve visited most of the 50 states and while I’d like to see them all, that goal is constantly pushed out as I return to my favorites over and over again. The deserts and mountains of the American west are my top places to visit in the US, most recently to eastern Utah and the alien landscapes of the Colorado Plateau. The buttes, badlands, arches, and canyons form some of the most famous and iconic structures in the country: one, Delicate Arch, is instantly recognizable from its appearance on the Utah license plate. 

I concentrated on eastern Utah in part because of its remoteness (the nearest airport served by major airlines is in Grand Junction, Colorado) and because of the many interesting formations in the backcountry areas. Three of Utah’s big five national parks are in the region (Capitol Reef, Canyonlands, and Arches) and they are less crowded than the two in the western part of the state (Bryce Canyon, Zion) both of which are within a few hours’ drive from Las Vegas. Dead Horse Point State Park and Goblin Valley State Park both feature fantastic photo opportunities and the locations in BLM (Bureau of Land Management) areas are spectacular. 

The only photo I have of myself on this trip. A solid 4x4 is a must for off-road locations.

Although this was primarily a landscape photography trip, I also planned several drone shots and, with the help of clear weather, a couple of attempts to photograph the Milky Way in the night sky. I timed the trip to occur in the days after a new moon and before the arrival of the summer heat. Although I visited nearly six weeks before summer solstice, the days were already long: sunrise shortly after 6 a.m. and twilight at nearly 9 p.m. The Milky Way galactic core appeared just before midnight, leaving only a few hours to sleep at night. When I first began my journey in photography, I would wake up for sunrise regardless of the forecast, but over the years I’ve become more discriminating and less inclined to force an early rise if conditions aren’t favorable for the shot I’m trying to achieve. In any case, the itineraries for this trip were jam-packed to take advantage of the best light each day, 

To get around safely, I secured a high-clearance Jeep 4x4 designed for backcountry exploring. Most days I drove to at least one off-road location, often miles away from a paved highway. Some roads were simple dusty trails; others were rocky, snaking paths with deep washboarding and sandy dugouts. Significant pre-planning and many hours of research were critical to identifying the routes and plotting the locations. Alright, enough preamble: let’s get to the images!

The portfolio shot from this adventure

My favorite image of the trip turned out to be this sunset drone photo of a sandstone butte. It is illegal to fly in the national parks so I knew that opportunities would limited to locations outside those areas. Thankfully Utah has many amazing features in more drone-friendly places. 

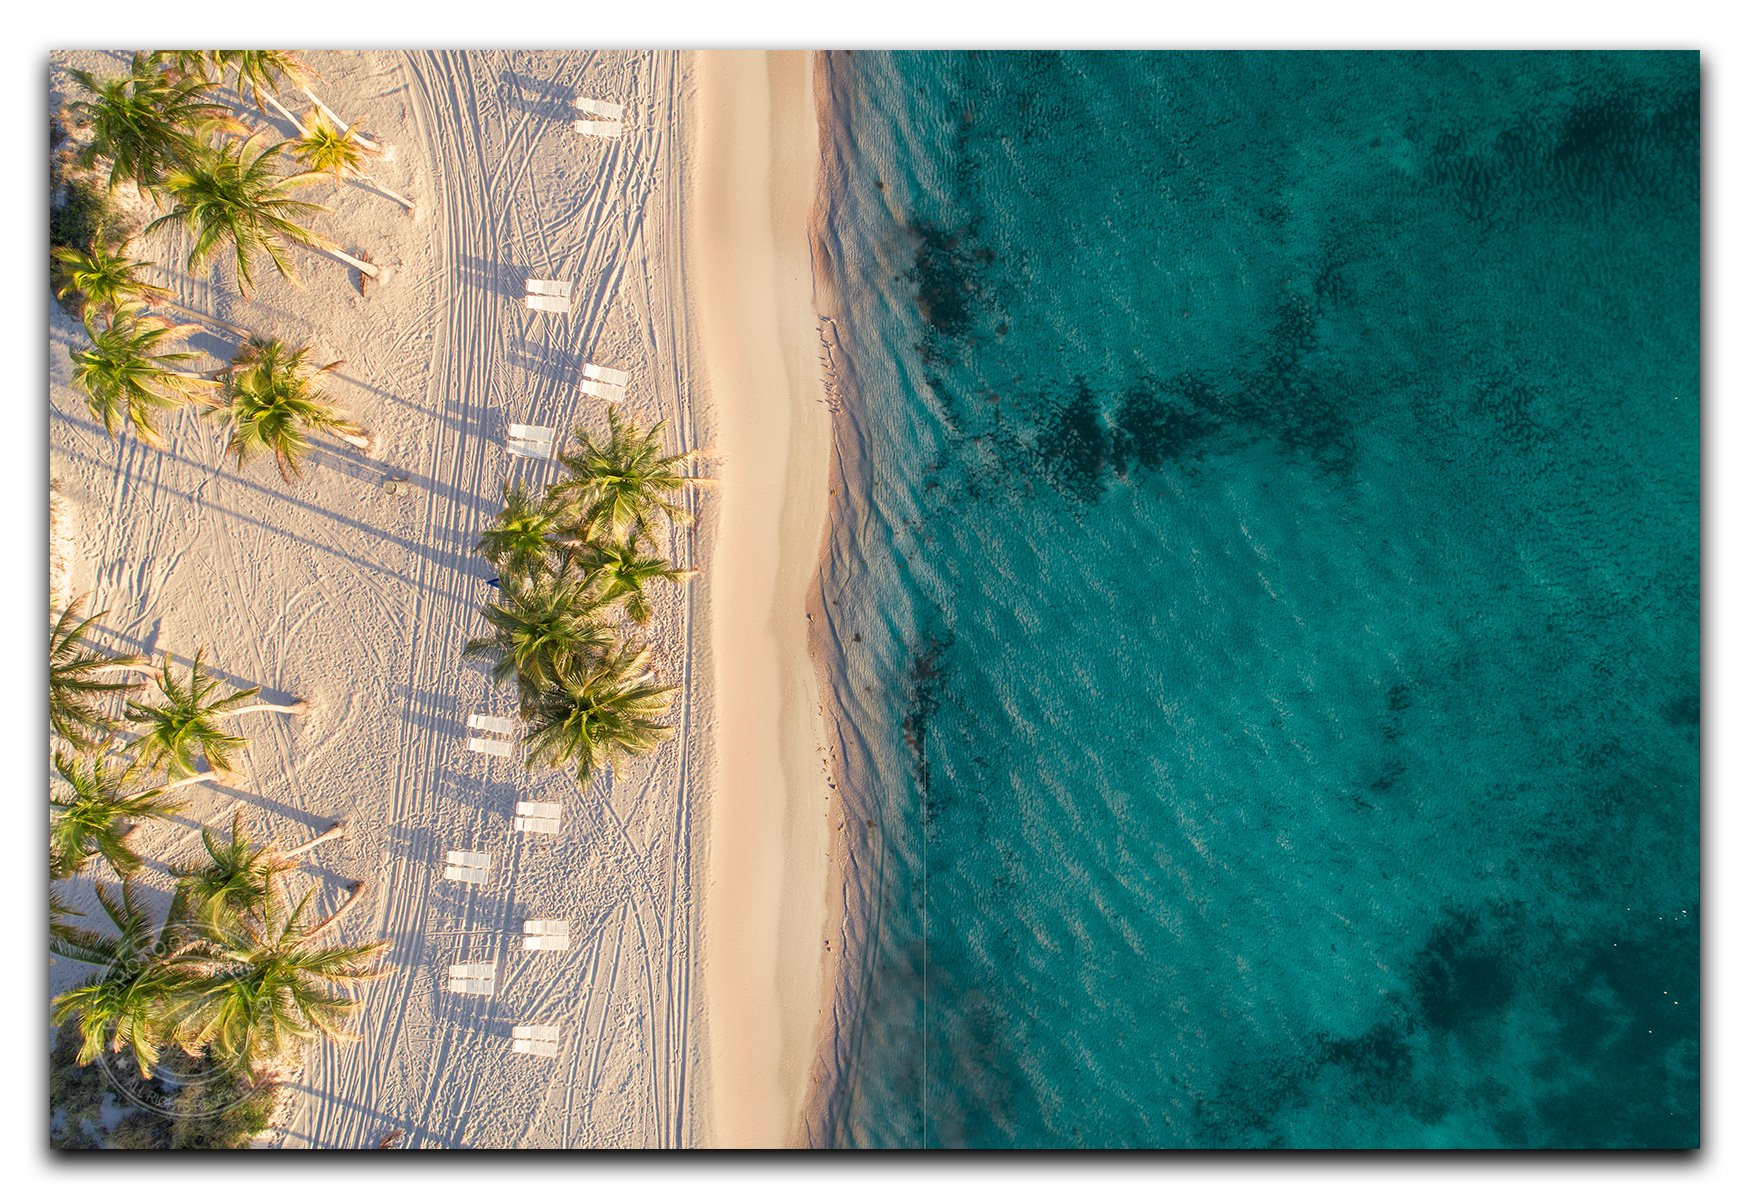
Top-down drone shots can produce interesting abstracts

Another drone shot I captured was outside of Hanksville at the “Rainbow Hills.” This one required minor off-roading and precise navigation — drone locations aren’t always obvious at ground level. Timing was key to achieving this image: blue hour after sunset cast a turquoise hue onto the sandstone hills. With the sun below the horizon, the light glowed with a soft, cool tone.

Temple of the Moon (center) bathed in golden light

One of the more adventurous itineraries was an afternoon trip in the Cathedral Valley section of Capitol Reef National Park. More than 17 miles of winding rough road led to the iconic Temple of the Sun and Temple of the Moon. I shuttled between the two pinnacles looking for compositions and taking advantage of the best light. After some time at Temple of the Sun, I hiked behind Temple of the Moon to photograph it in between two other giant slabs during golden hour. The secret to a shot like this is using elevation to align the three formations to similar heights in frame. I prefer to walk around to different vantage points to compose an image — and that means in three dimensions whenever possible. Eye level is the most conventional but frequently not the best perspective from which to shoot. 

As the sun dipped toward the horizon, I hurried back to Temple of the Sun hoping for a dramatic sky. Clouds had formed throughout the afternoon so I thought there was a possibility to capture strong color at sunset. And what a show it turned out to be! 

Temple of the Sun and (in the back left) Temple of the Moon. The monoliths are similar in size.

For all images on this trip I used my Canon R5 mirrorless camera. Recently I traded in my Canon EF 16-35mm F/4L IS lens — which was my primary landscape and underwater lens for many years. That lens served me beautifully, and many images in my portfolio were shot with it, but it was time to make a change for two reasons: 1) I wanted a single lens for landscape, underwater, and astrophotography and 2) I wanted a lens native to my mirrorless camera without having to use an adapter. So in Utah I debuted the Canon RF 15-35mm F/2.8L as my wide-angle choice.

When I first took an interest in landscape photography, I was constantly chasing colorful sunsets, and while I still do appreciate a brilliant sky, I find that my favorite images often are golden hour landscapes in which the subject is bathed in magical light. Likewise, blue hour is my preferred condition for cityscapes, even more so than spectacular sunsets. Of course in the desert boring blue skies are common, especially in the cooler months, but during my week in Utah I experienced a mix of sun and cloudy skies — so often in fact, that on a few nights clouds obscured the night sky and prevented me from photographing the Milky Way. Eventually the weather cleared and I was able to take advantage of Utah’s famously dark skies. 

One of the most peculiar locations I shot is called the Moonscape Overlook: a bluff carved out over magnificent badlands. Early morning sunrise unquestionably is the best time to photograph this spot and only while the sun just peeks over the horizon. I set my alarm for a 4:30 a.m. wakeup and arrived in time to scout compositions and find my preferred angle. A few other photographers and campers were there too, and one adventurous woman volunteered to step out onto the pinnacle overlooking the canyon. I have to confess some anxiety as I watched her step out onto the landing, knowing that I’d be powerless to help in the event of a tragedy. But she was surefooted and confident and turned out to be an excellent model for the few photographers capturing the sunrise. Normally I try to avoid including people in my shot, but in some instances a well-placed model can help to provide scale, especially in vast panoramic settings.
A beautiful sunrise in the Moonscape. The woman standing on the pinnacle said she had no fear of the 1400 foot drop to the canyon below.

After a few days it was time to travel east toward Moab where I would focus on subjects in Arches and Canyonlands National Parks. I originally wrote off Mesa Arch in Canyonlands. It is one of the most photographed locations in the southwest, drawing an assembly of photographers in the middle of the night to camp out and claim one of the few prime spots for sunrise.

Mesa Arch, despite its name, is in Canyonlands National Park, not Arches National Park.

I did not have any interest in repeating that shot, so I went in the late afternoon just to see the location. I expected crowds and no photo opportunity, but to my astonishment, there was no one at the arch when I arrived! So I quickly took a few photos and enjoyed the quiet view. A few minutes later, a number of people showed up and the arch was once again crowded. 

My final stop was in Arches National Park to photograph the iconic Delicate Arch. I began the long uphill hike in the late afternoon, with dinner and beverages packed along with my camera gear. As the sun dropped toward the horizon the light took on a rich amber tone, painting the sandstone in gold. In settings like this, when the light is right, a great photo is a slam dunk — you simply need to put yourself there at the right time. The light faded and I enjoyed a sunset dinner. It was time to begin the downhill climb and rest a few hours. At midnight I would attempt another Milky Way photo and the next morning I had to catch a flight out of Grand Junction, two hours away. 

Delicate Arch — icon of the Utah license plate — is arguably the most famous arch in the United States.

The Northern Lights

Note: In this post I use the terms “aurora”, “aurora borealis”, “northern lights”, and “the lights” interchangeably. 

The northern lights have been on my shortlist for years and this winter I finally visited the Arctic Circle to photograph them. It’s not for lack of trying: previous attempts in Alaska and Canada were uninspired at best due to low clouds and faint auroras — though in fairness both were outstanding wildlife trips where the northern lights were sought after as a bonus, so I can’t really complain too much. 

Try again: less-than-amazing attempts to photograph the aurora on previous trips to Canada (L), and Alaska (R) where the faint glow above the horizon barely registers as a sighting!

The aurora borealis, also known as the northern lights, is a natural phenomenon that has captivated people for centuries. The lights occur when charged solar particles collide with the earth’s upper atmosphere. The North and South Poles act like magnets drawing the solar activity to far northern and southern latitudes (the southern lights are known as the aurora australis — more on the scientific explanations here.)

As I was researching locations to observe the northern lights, I weighed the tradeoffs - in particular for Fairbanks, Alaska; Iceland; Yellowknife, Canada; and Lofoten, Norway. (I expect at some point to visit all of them!)

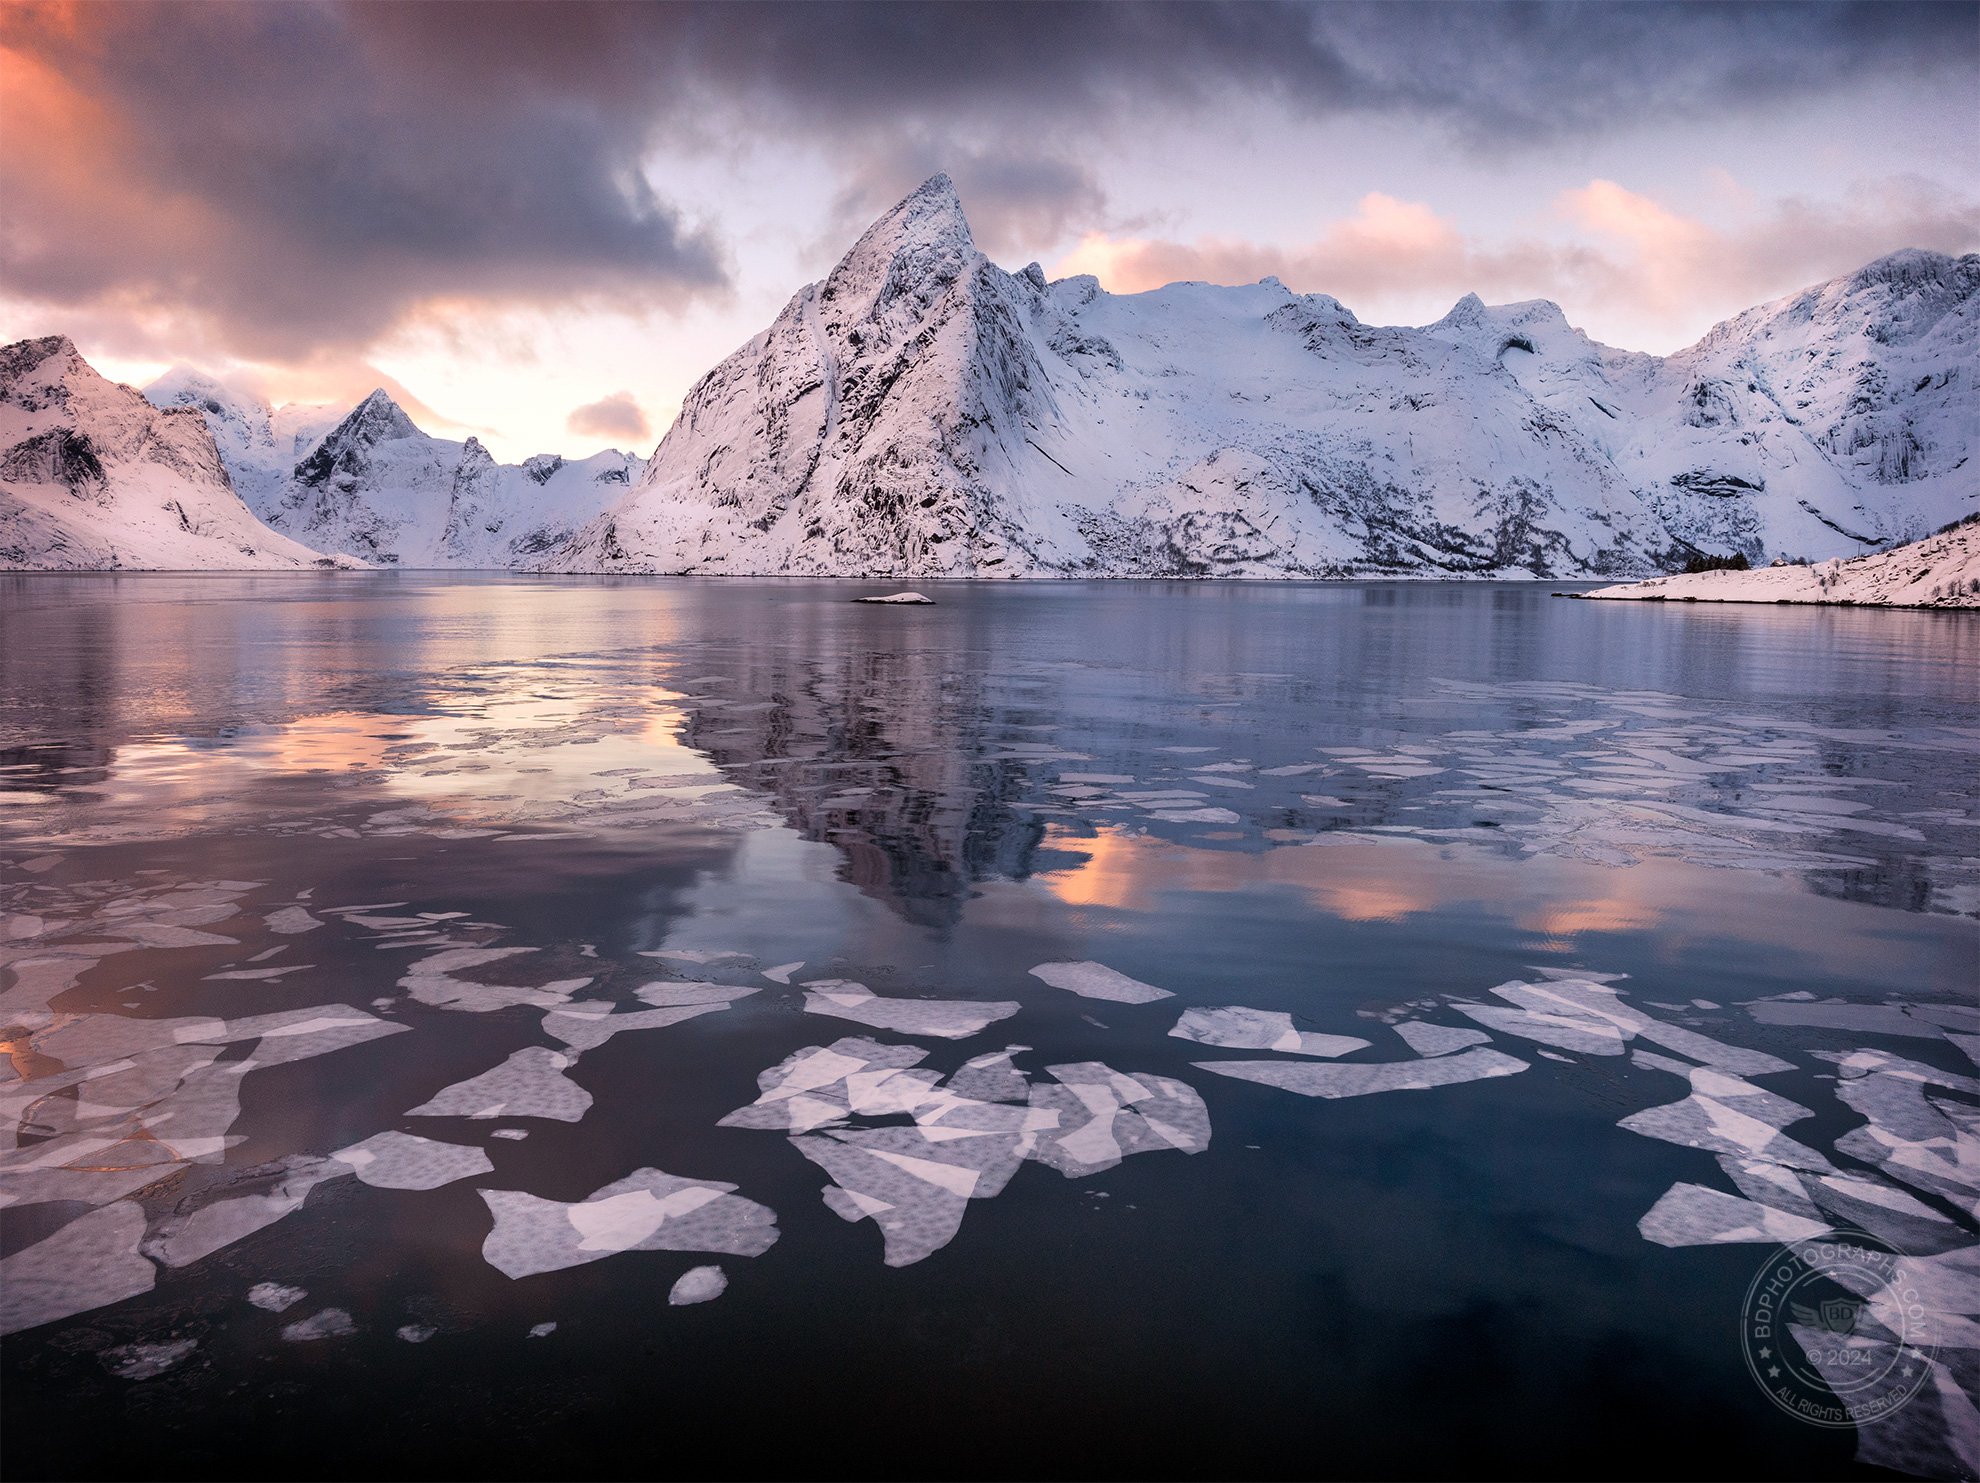
Lofoten has so much natural beauty that it almost guarantees portfolio-level images. This image was captured flying a drone very close to the surface of the water.

Fairbanks has excellent aurora sightings but lacks many photogenic locations otherwise. Iceland, while incredibly scenic, is prone to slightly less favorable weather in winter. Yellowknife, like Fairbanks, is relatively featureless tundra and is arguably the coldest of all the locations. Lofoten is the only location of the lot that is firmly within the Arctic Circle and the micro climates there can lead to more viewing opportunities, though weather is nonetheless unpredictable and dynamic. And like Iceland, Lofoten is visually beautiful so in the event that I did not see the aurora, I would be virtually guaranteed to come home with some great winter landscape photos.

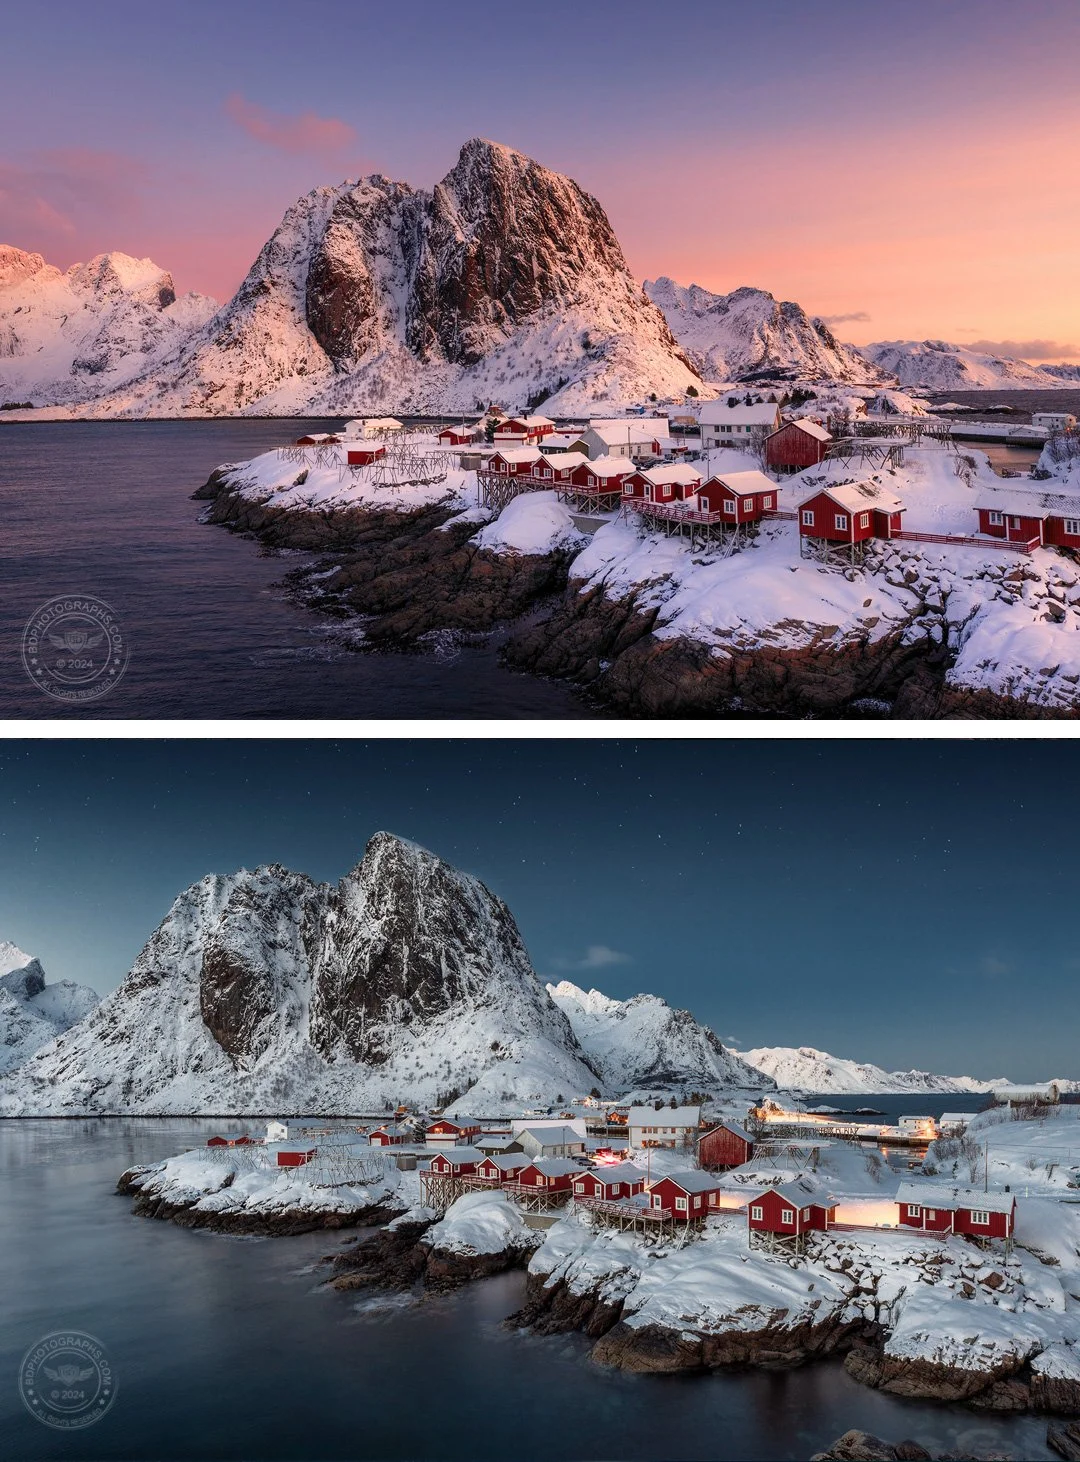
Some locations require visiting in more than one light condition. Above: a fishing village at sunrise and during evening blue hour.

I flew across the Atlantic on a three-flight hop up to Lofoten, descending through a snowstorm, and landing in a complete whiteout. I’ve seen my share of sketchy weather but I’m still not sure how those pilots made the runway. The next morning, recharged with a good night’s sleep and some hot tea, we began our tour of this Arctic wonderland.

Lofoten is an archipelago connected by land bridges in between small fishing villages. Towering fjords frame these tiny hamlets to the east and natural beaches to the west. Weather changes often and sporadically: one morning we left a sunny fishing town into a blizzard on the other side of the mountain. Of course, dynamic weather presents an opportunity in landscape photography and is without question preferred over blue skies.

Lofoten is an archipelago of towering fjords and picturesque seaside fishing villages. Photographic opportunities are everywhere.

Most of the winter imagery that I capture at home is of quaint New England vignettes: a covered bridge, a small church, a waterfall in the snowy forest, etc. One of my goals on this trip was to bring home images of snow-covered landscapes that were quite different from what I photograph at home: icy ocean scenes, Arctic fishing villages, snow-covered fjords, and, of course, the northern lights. 

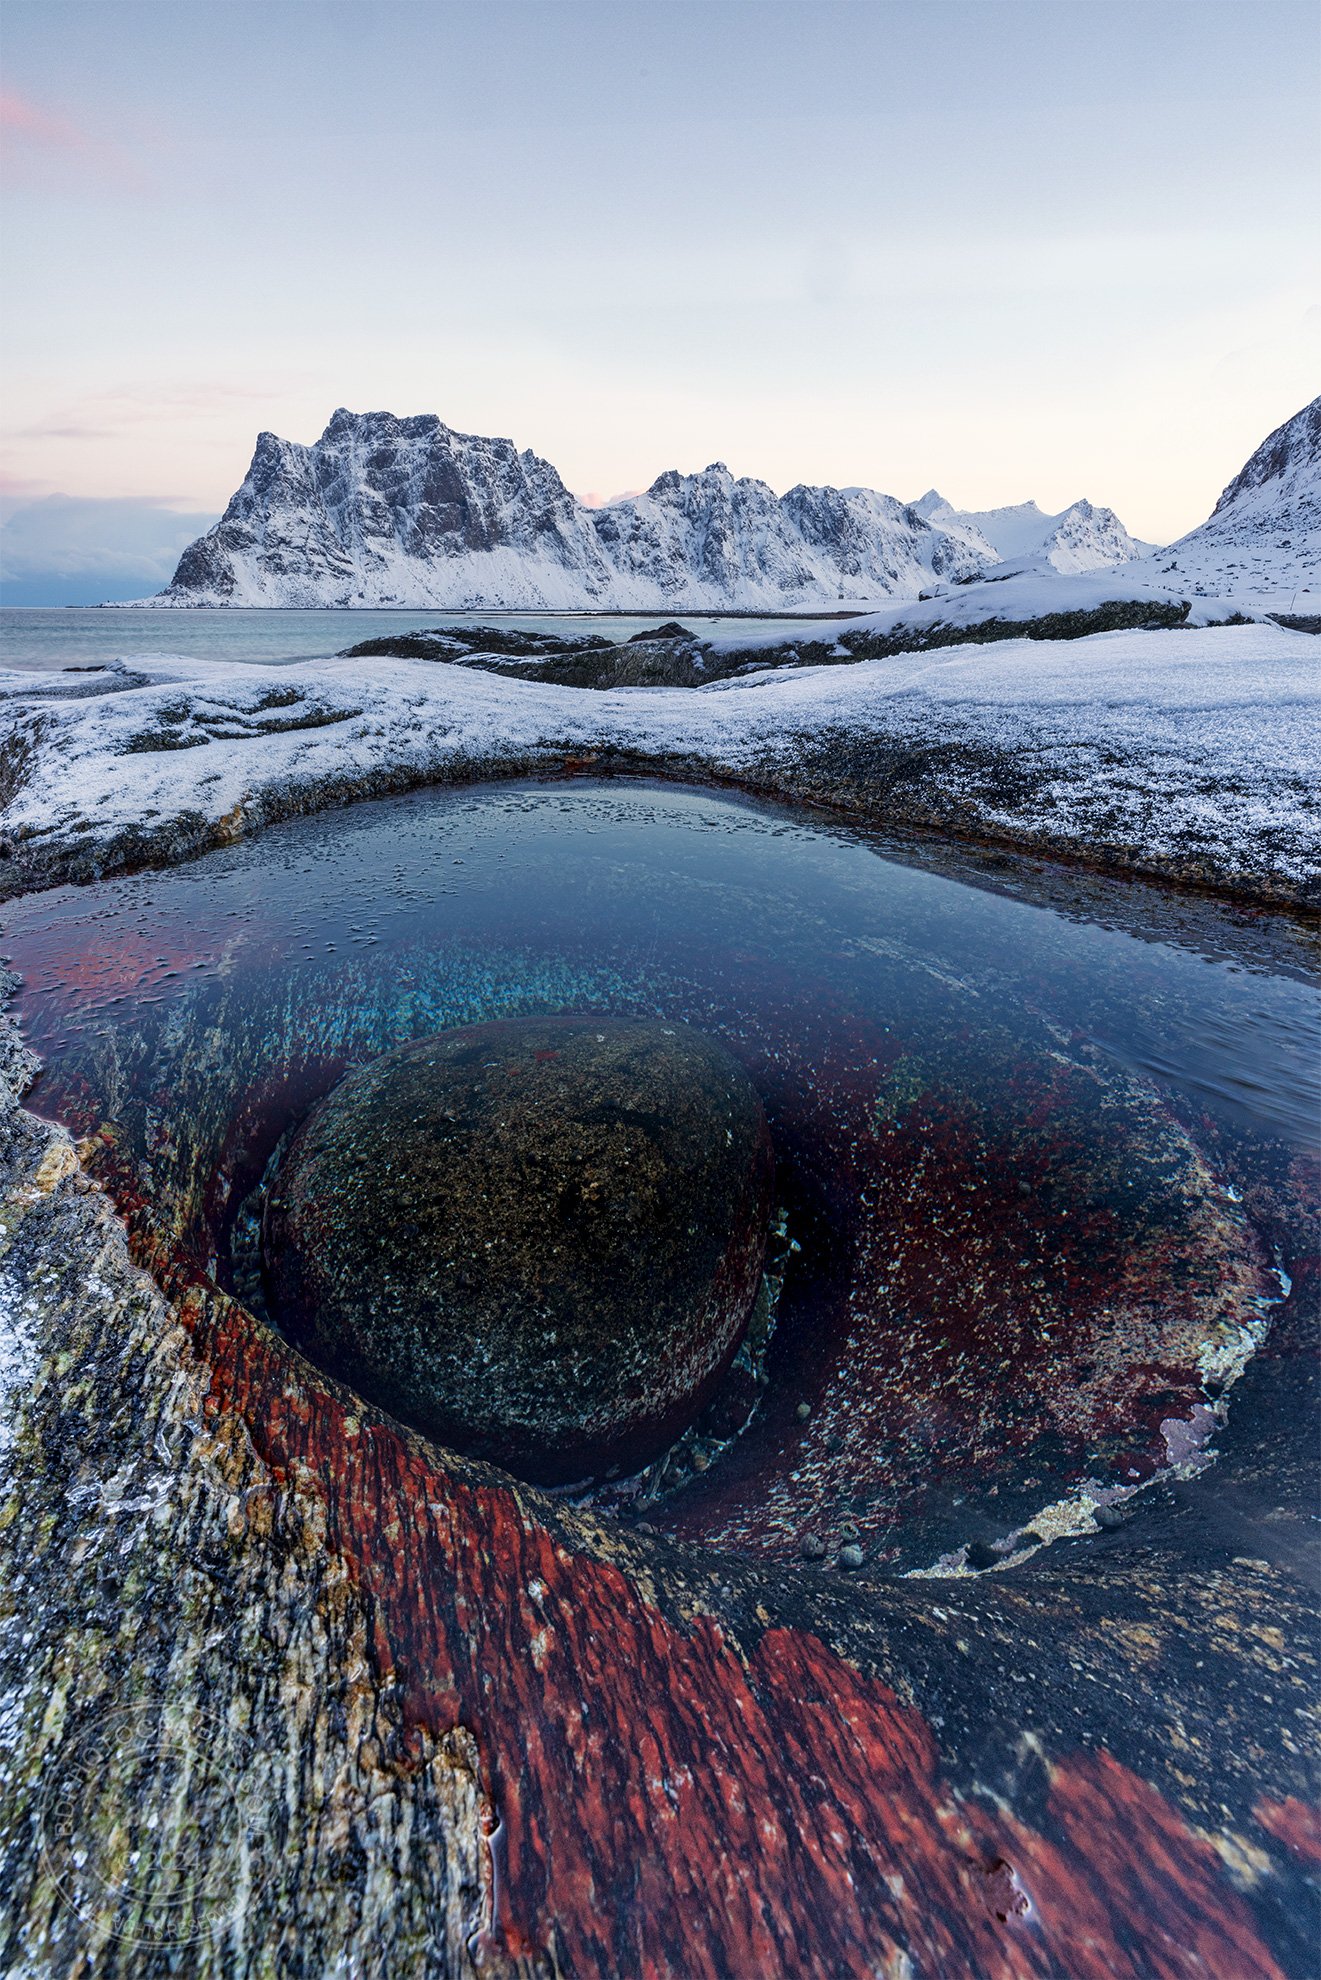
The “Dragon’s Eye”: a colorful tidal pool within a rock basin along an Arctic beach

Foreground elements need not be complicated: A snow-covered bridge creates leading lines toward the subject.

Each day I went out for sunrise and sunset, at times returning to the same locations to capture the same scene in different light conditions. After dinner, I monitored the aurora forecasts and waited for my guide to confirm shooting time if we were to get lucky with a light show. Aurora chasers know that clouds are the enemy, but even on clear nights, we still need good solar activity to see the northern lights.

This makes it very different from Milky Way photography: in the right time of year, all you need is a dark sky location, clear weather, and you are guaranteed to see the Milky Way. (Ok, it’s a bit more nuanced than that: certain latitudes won’t see it, and you need to know what time of night to be out, but for the most part the Milky Way is a slam dunk as long as the weather cooperates. The aurora is much more elusive.)

The afternoon weather was clear and expected to hold overnight. Solar activity forecasts changed suddenly from a KP 2 to a KP 5 (a higher KP indicates a greater probability of seeing the aurora). My aurora forecast app displayed live webcams picking up sightings in Finland and Sweden — things were looking promising. And then, at about 10:30 p.m., the northern lights arrived right where I was waiting for them. I worked with a few different compositions and took time to experiment photographing with my iPhone in addition to my primary camera

This shot required two exposures: one for the northern lights and a second to mute the harsh streetlights in the fishing village

Like other night sky images, the northern lights require a long exposure but there is a point of diminishing returns if the shutter speed is too long. Because the lights are a moving phenomenon, too long of an exposure will result in a cloudy green sky and potentially over-exposed image. I found that the sweet spot was between 6 and 13 seconds depending on what the lights were doing. Aperture generally was left wide open on my Canon EF 16-35 F/2.8L III lens. Of course night sky photography and long exposures require a sturdy tripod and I was quite pleased that even in strong winds my Gitzo carbon fiber tripod provided a stable platform.

In astrophotography, artificial light can become blown out even if the sky is correctly exposed and this was absolutely the case as I photographed the aurora over a fishing village. The trick here is to take at least two exposures: one for the sky and at least one for the village houses in order to mute the strong effect of the streetlights. The raw images are combined in post-processing to create a single image. This is a common technique in landscape photography when there is a high dynamic range of light.

Above: iPhone photo of the arriving aurora. Phone cameras have come a long way!

The portfolio shot: aurora borealis over Norwegian fjords

Aerial shot using a drone. Most drone enthusiasts go for shots from this perspective, but the drone can offer incredible opportunities to shoot anywhere you can’t plant your feet.

Prior to my trip I applied for a European drone license and passed the course to fly legally in most European countries. When the winds were calm, I sent up the drone for some aerial images and footage. One of my favorite photos was achieved flying quite low — just a few feet above the water. Many drone enthusiasts use it too narrowly as a device only for aerial perspectives, but I see it as a tool to take photos anywhere I can’t plant my feet. Today’s drones fold up and fit comfortably in a backpack and some of them like my DJI Mavic 3 are equipped with excellent cameras!

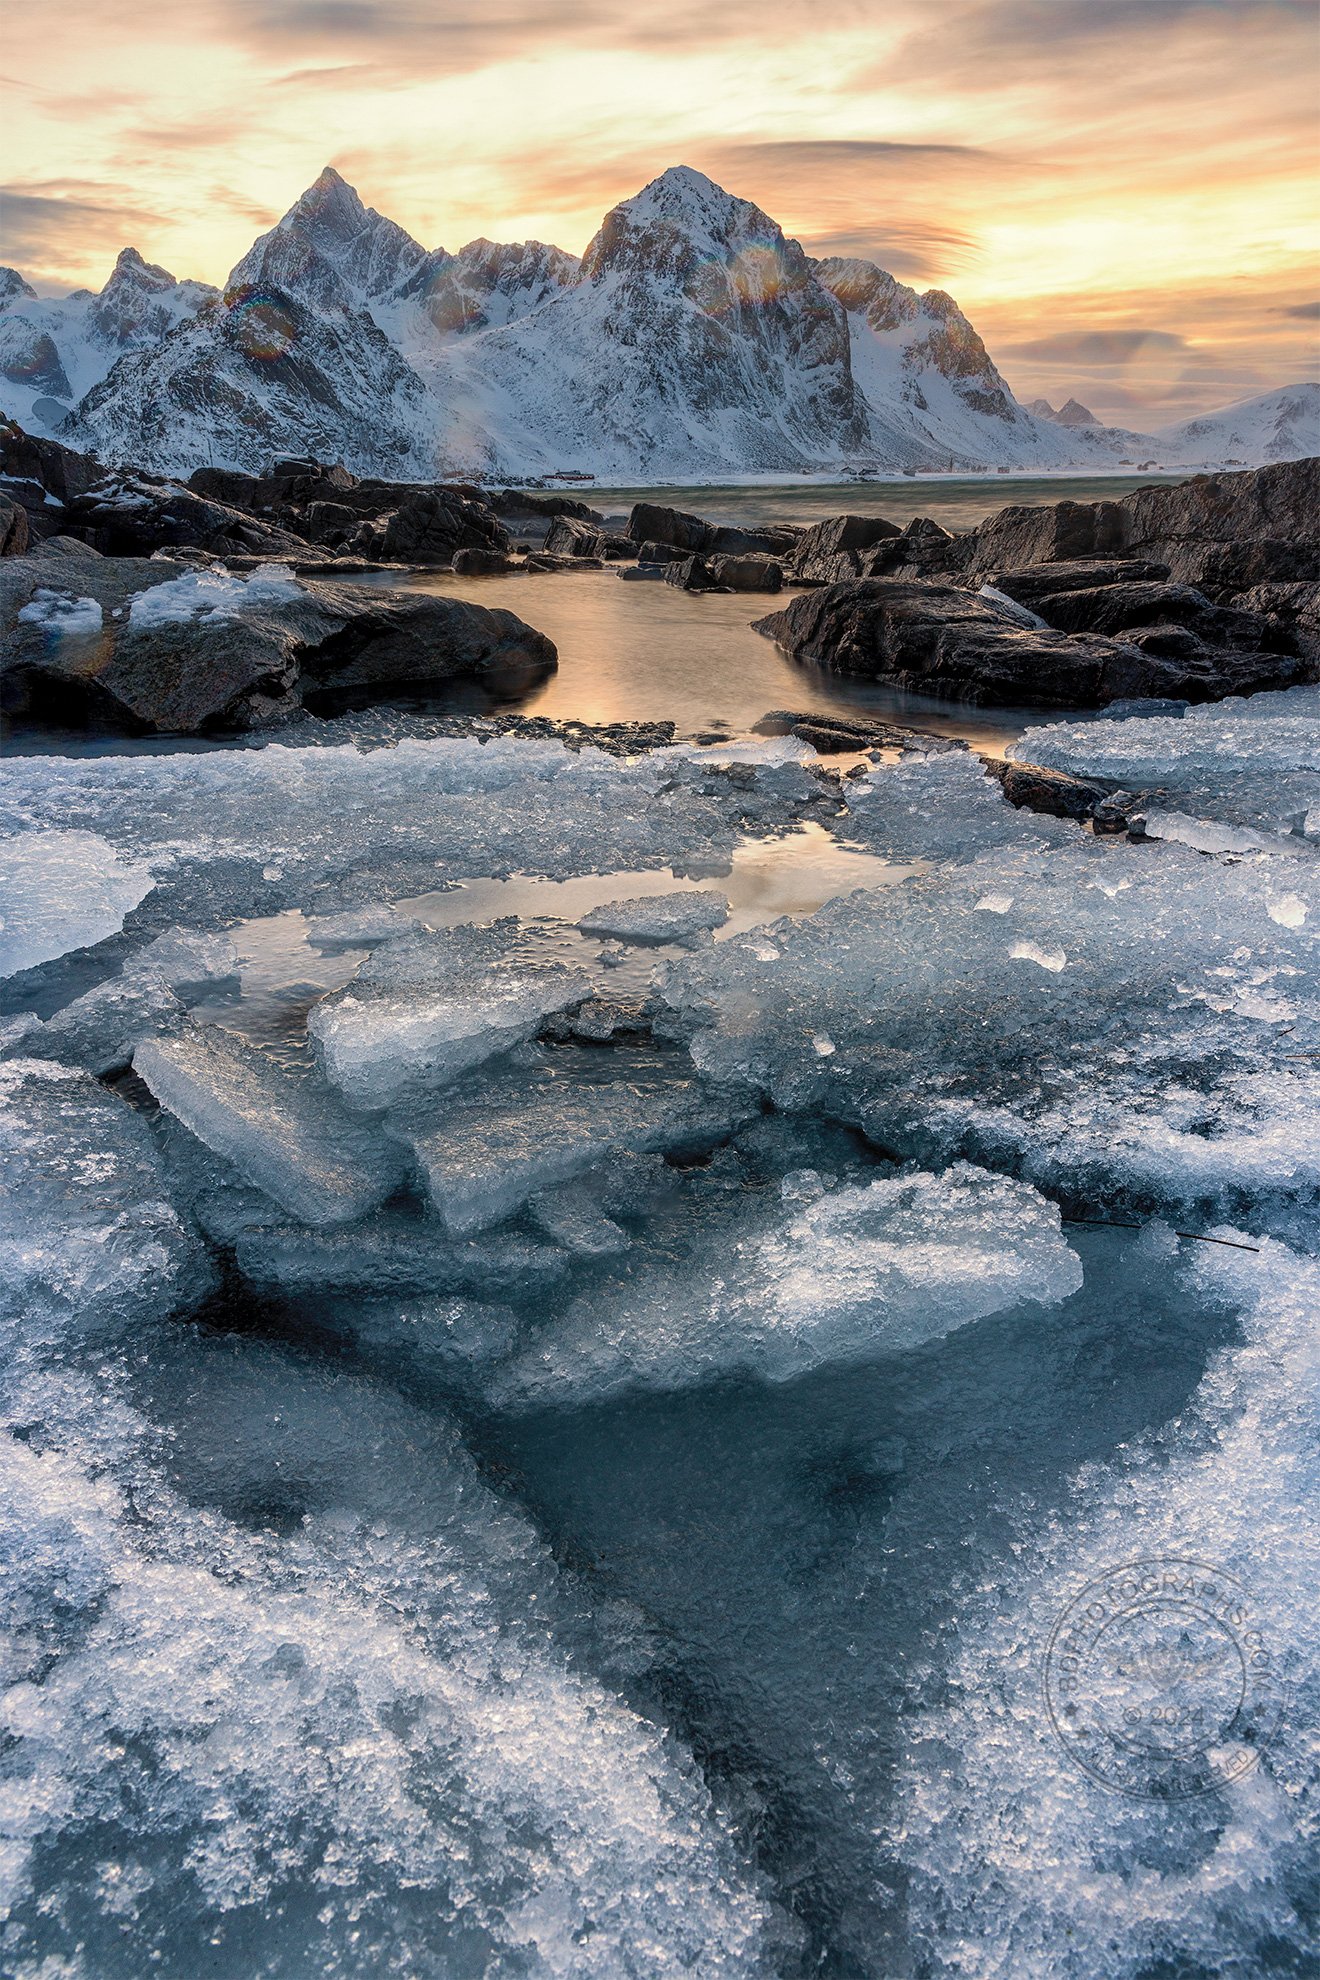
Ice shards and snow melt make compelling foreground subjects. Leading lines and geometric shapes are constantly changing as fresh storms freeze and thaw the shoreline.

In the daylight hours I sought interesting compositions to showcase the Arctic landscape. The snow-draped fjords are stunning by themselves, but adding a good foreground element can take a photo from pleasing to spectacular. It’s easy to overthink the foreground, but a basic subject is all that is needed. Along the beaches I searched for ice shards and geometric shapes. Other times a simple fisherman’s cabin provided a humble contrast to the powerful and majestic mountains. 

As the week developed, the weather grew progressively worse and I realized how lucky I was to see the aurora. And in the weeks after my visit, aurora sightings were scarce and much of the snow gave way to rain, washing away the magical winter essence. Outdoor photography is almost exclusively the domain of natural light and this means surrendering to whatever nature provides on a given day. Though my previous visits to northern latitudes did not yield successful aurora images, persistence and patience paid off: this trip was one for the books.

Tropical oasis? The water color on sunny days resembled the Caribbean.


Silky Smooth Water Effect

Prerequisites:

Understanding the exposure triangle

Experience in ‘Manual’ mode

You can see it in fine art photographs everywhere: a smooth, dreamy quality to a body of water. Unlike the harsh and crunchy appearance of most smartphone snapshots, the water in these fine art images takes on a fantasy-like artistic look. How do photographers get that magical silky effect? It’s actually quite simple: with a medium to long exposure, we can blur the movement of the water into a velvety texture. Today we’ll look at how exactly to “soften” moving water: the gear needed to pull off the shot, just how “long” the exposure needs to be in different situations, and some side effects and pitfalls to avoid in the process. 

The East River in New York City is tidal and always moving, even on the calmest day. Softening the water requires a long exposure of 15 seconds or more. Notice the blurring effect the long exposure has on the moving clouds. Canon 5D III | EF 24-70 f…

The East River in New York City is tidal and always moving, even on the calmest day. Softening the water requires a long exposure of 15 seconds or more. Notice the blurring effect the long exposure has on the moving clouds. Canon 5D III | EF 24-70 f/2.8L II | Aperture f/16 | Shutter 60” | ISO 100

GEAR

The technique to soften water is in controlling the shutter speed and the most important item aside from your camera and lens is a sturdy tripod. You may also want to bring a polarizer and a neutral density filter, especially for daytime shots. A remote shutter trigger is a convenient tool and a back-saving device when your camera is positioned low to the ground. Finally, a rain cover for your camera is good idea when shooting by water — especially near waterfalls or breaking waves. 

HOW LONG IS “LONG”? 

Sure, we know the trick to softening water is in a slow shutter speed and long exposure but what exactly do we mean by “long”? That answer really depends on a number of variables, but as a rule of thumb, any shutter speed that is too slow for a hand-held in-focus shot can be considered a long exposure. I can see some of you rolling your eyes — “just give me a number!” — so for the sake of simplicity let’s say 1/15 of a second up to 1 second is a medium length exposure, and anything over 1 second is “long”. 


“That’s quite a range” (another eye roll) — it sure is, and there’s a certain amount of experimentation needed to arrive at the optimal shutter speed for a given shot. It’s also the case that two exposures of the same scene can look quite different even at the same shutter speed.

TECHNIQUE

A good tripod is essential to pulling this off, so ensure your camera is mounted and stable before you begin. Put your camera in manual mode and set the aperture to a narrow f-stop such as f/16 or f/22. Set your ISO to its lowest native setting (100 for most Canon cameras; 64, 100, or 160 for different Nikon bodies). Evaluate how fast the water is moving relative to the camera and dial in a shutter speed of a few seconds to start. Look at your exposure meter — if the scene is underexposed, you can open the aperture a bit wider or increase the ISO. If the scene is overexposed, shorten the shutter time a bit. In bright daytime scenes it may be necessary to use a neutral density filter in order to achieve the desired shutter speed. Adjust the shutter speed until the water is softened to taste. Take several exposures and choose the best one.

The “crunchy” water look is typical of smartphones and cameras in Automatic mode. The camera is shooting with a fast shutter speed in order to ensure a sharp image — which is the right thing to do in most situations. It doesn’t know we want an artis…

The “crunchy” water look is typical of smartphones and cameras in Automatic mode. The camera is shooting with a fast shutter speed in order to ensure a sharp image — which is the right thing to do in most situations. It doesn’t know we want an artistic effect in the water. Sony QX100 with iPhone | Aperture f/4 | Shutter 1/640 | ISO 160

The key to softening water is to understand how quickly the water is moving relative to your point of view. When the relative movement is fast, you don’t need as long of an exposure because you capture more movement (and thus blur) in a given amount of time. When the water movement is slow, a longer shutter speed is required to smooth out the texture. Be careful to consider the relative movement of the water, not the objective speed. For example, a moderately flowing stream might be visually quite rapid if you position the camera low and close to the water. In other words, the water moves across the frame quickly. On the other hand, a lake in the background of the image could be churning in the wind, but because of it’s distance, the water is not moving much at all relative to your point of view. This would require a lengthier exposure. 

Fibrous streaks are a variation of softened water. In this image the camera is positioned on the bank low and just inches from the gushing stream. A modest shutter speed of 1/5 of a second is all it takes to achieve the silky tendrils in the image. …

Fibrous streaks are a variation of softened water. In this image the camera is positioned on the bank low and just inches from the gushing stream. A modest shutter speed of 1/5 of a second is all it takes to achieve the silky tendrils in the image. A CPL filter (aka circular polarizer) will help to reduce the reflective glare on wet rocks. Canon 5DSR | EF 24-70 f/2.8L II | Aperture f/22 | Shutter 1/5” | ISO 100 | B&W Circular Polarizer

Sometimes we prefer a more fibrous look to the water, especially in rapids and waterfalls. The recipe for this effect is still in the shutter speed, but in this case longer is not necessarily better. You want to blur the water just enough to soften the crunchy look at you would achieve with a fast shutter speed. A medium shutter speed — somewhere between 1/15 and 1 second will usually produce this effect. 

Less is more: a long exposure will turn the stream into a milky mess and potentially blow out the highlights. This image was shot with a 1 second exposure — not especially long — and has already exceeded the ideal shutter speed. The mill is well exp…

Less is more: a long exposure will turn the stream into a milky mess and potentially blow out the highlights. This image was shot with a 1 second exposure — not especially long — and has already exceeded the ideal shutter speed. The mill is well exposed but the water is too frothy and some of the trees in the background show motion blur. Sony A7RII | 24-70mm f/4 | Aperture f/22 | Shutter 1” | ISO 100

SIDE EFFECTS

Long exposures can sometimes result in odd or undesirable effects in images. Remember that a long exposure will create motion blur — this is how we soften water — and that blur will affect any moving object in the image. On a windy day bushes and trees will sway, along with flags, traffic lights, boats, and even skyscrapers! Moving cars will appear as streaks of white and red when their lights are on. And clouds will lose their shape and become foggy strokes of whitish gray (sometimes this adds to the dreamy effect we achieve in softened water). There is a relatively easy way to control these unwanted effects, but it requires some work in post processing. First take the photo at the desired shutter speed to properly soften the water. Then, take a second photo with a much faster shutter speed (you will have to increase your ISO and/or widen your aperture) to ensure there is no unwanted blur in the trees / boats / moving items. Combine the two images in post processing. 

Remember that softening water is an artistic technique that deliberately stretches the shutter speed. Have fun experimenting and soon you’ll enjoy the pleasing and professional looking images you create.

The Shot: Rock Trails

The Shot: Rock Trails
Location: Death Valley, California
Skill Level: Intermediate
Techniques: Scouting and preparation, wide-angle photography
Recommended knowledge: Setting your camera’s aperture, shutter speed, and ISO. Changing the autofocus point. 


Quite often the majority of the work required to make an image occurs before the camera ever snaps a shot. In this post we’ll take a bouncy ride out to one of the more remote spots on the continent to catch the short but beautiful moment before sunset known as “golden hour”. 

OUR DESTINATION
Racetrack Playa in Death Valley National Park is a unique location famous for its mysterious “moving” rocks. Along the scaly texture of a dry lakebed, rocks dot the surface with tell-tale and seemingly impossible trails in their wake (more on how this phenomenon occurs later). I had seen photos of this location, mostly taken in mid-daylight hours, and decided to attempt a golden hour shot. 

TRAVEL
The most difficult part of capturing an image like this is actually getting there. Death Valley National Park is remote (four hours drive from Los Angeles and two from Las Vegas), and Racetrack Playa is relatively deep in a secluded part of the park. For seven months of the year the average temperature high is greater than 90°F (32°C) making it one of the most inhospitable locations to visit in the United States. From the visitor’s center in the park, it is an 83 mile drive including 27 miles on a rough single-lane dirt road. That may not seem like much, but the rugged washboard prevents travel speeds more than about 15-20 miles per hour. In all, the dirt road portion of the drive it is about one and a half hours of non-stop bouncing and rattling. Be sure to have your gear stowed in protective padding (and book an appointment with your chiropractor). I’d definitely advise against attempting this drive in a car unless it has sufficient clearance, solid 4-wheel drive (not the same as all-wheel drive), high tolerance for off-road abuse, and a good spare tire. Many visitors rent Jeeps fitted for off-road use.  

The route from the Furnace Creek Visitor’s Center. West of Grapevine Peak the drive switches from paved to dirt roads. Expect to be on the dirt roads for about 1.5 hours at speeds no greater than 20mph. (courtesy: Google Maps)

The route from the Furnace Creek Visitor’s Center. West of Grapevine Peak the drive switches from paved to dirt roads. Expect to be on the dirt roads for about 1.5 hours at speeds no greater than 20mph. (courtesy: Google Maps)

SCOUTING
Once at the playa, and after a good stretch of the arms and legs, I ventured out onto the playa itself. Common sense (and park rules) prohibits driving onto the playa - there is ample parking at the end of the dirt road. Sadly, much of the playa was defaced in 2016 by joyriding morons. Instead of rock trails, visitors were left with criss-crossing ugly black tire marks. It could take years before there is enough rainfall to wash away the damage. Locals told me this is not the first such incident and that the park may admit future visitors to the playa by permit only, or not at all. This is why we can’t have nice things.

For a golden hour shot, it’s important to arrive well in advance of sunset to find the right composition, read the light, and set up your gear. You should also research the direction of the sunset to help decide whether you want a back-lit, front-lit, or side-lit shot. Suncalc.net is a free resource for determining the direction of sunrise and sunset. Popular smartphone apps include The Photographer’s Ephemeris and Photopills (more on how to use these apps in a different blog post). Early arrival at the site will also allow you to take some time to explore and simply enjoy the experience - something that will be more difficult when you’re focused on photography during the fleeting moments of golden hour. Part of the fun here is searching the area and choosing your favorite rock and composition. With a short while before golden hour, it’s time to set up the tripod and take some test shots.


I use Adobe Photoshop and Lightroom to process all my images. Try them for free using this link.


TECHNIQUE
Wide Angle shots: For a dramatic close-up of the subject, choose a wide angle lens and set up low and very close to the rock. I used a Canon EF 16-35mm f/4 lens on my Canon 5D Mark III for this image. Wide angle lenses exaggerate and distort the size of anything near the lens, while diminishing the scale of more distant objects. 

Focus stacking: In this type of shot, even with a narrow aperture (f/22) there may not be enough depth of field to achieve sharp focus of the foreground and background in a single exposure. To compensate for the limited depth of field, photographers sometimes use a focus stacking technique (combining multiple exposures each with a different focal point - e.g. one that focuses on the foreground, a second on the middle ground, and a third on the background. More on that in a different post). We’ll keep things simple, and in my case I did so out of necessity. Because I arrived later than expected, there wouldn’t be much time before the sun dipped below the mountains to the west, and the golden light would disappear. 

Narrow aperture: If you are going to achieve focus in one exposure, make sure to dial back the aperture to f/16 or narrower, focused on the foreground subject. If you are too close to the rock, you’ll need to focus stack in order to achieve sharpness throughout. Because you’ll be using a relatively narrow aperture in diminishing light, you’ll need to compensate with shutter speed and/or ISO for a proper exposure. (Need to brush up on exposure and how aperture, shutter speed and ISO work?) Remember that a longer shutter speed will cause moving objects (e.g. moving clouds, blowing sand) to appear blurry or as streaks. This can be a very pleasing effect, but if it’s not what you desire, and you prefer to keep moving clouds sharp you’ll need to limit shutter speed and compensate by raising the ISO. 

Focus: For a single shot, keep the autofocus point on the foreground subject. If the camera is on a steady tripod, turn off image-stabilization (vibration reduction) on the lens if possible. Only keep it enabled if conditions are very windy.

Exposure: use your histogram to ensure highlights are not blown out, especially the sunlight on the mountains. Use bracketing or HDR if desired (if you are not shooting in the direction of the sun this should not be required.)

Positioning: Keep your camera height below or on the same horizontal plane as your subject to achieve a dramatic effect. Most rocks are not more than one foot in height, so you’ll need to be low. A tripod is needed for this type of shot due to the low light and potential slow shutter speed. It’s also hard on the knees and back to get down that low - let the tripod do the crouching and use a remote to trigger the shutter. 


Interested in photography gear and supporting small business? Check out Adorama


Perspective and lighting make all the difference. In this shot the camera is on a tripod roughly three feet in elevation and the golden light has disappeared behind the mountains. The rock looks small and the light is flat. For the portfolio shot, t…

Perspective and lighting make all the difference. In this shot the camera is on a tripod roughly three feet in elevation and the golden light has disappeared behind the mountains. The rock looks small and the light is flat. For the portfolio shot, the camera was less than a foot off the ground and the sunlight was almost horizontal from the west, giving us a golden light quality and long shadows.

FINAL THOUGHTS
Use your judgment about what can be achieved in the time that you have and remember that it’s better to take more pictures than you need. Golden “hour” is variable in length depending on where you are (latitude) and the time of year - but the blue hour following sunset (or preceding sunrise) can be just as magical - so don’t pack up too early. At the playa remember to seek out more than one rock and alternate compositions! When you return to your hotel or campsite, after the long bouncy ride, put your feet up, have your favorite beverage, and review your photos - I like to rate my favorite ones in camera or in Adobe Lightroom. Then sleep on it and pick your finalists afterward. 

Some additional considerations: Racetrack Playa is a special place and worth the trek. Before visiting this location, consider weather conditions (especially if there is rain or flash flooding in the forecast, or in the heat of the summer months), research driving options, pack enough water (then double that amount), bring warm clothing in winter, and tell someone where you’re going and when you’ll be back. Bring a flashlight (or two), batteries, and GPS. Travel with a companion (the human kind). As in most desert locations, dust and sand can be a problem and won’t play nicely with electronics. If shooting with a DSLR or mirrorless camera, choose your lens and mount it to the camera body before you pack your gear, then leave your gear packed until you arrive.

SUMMARY

  • Plan the shot with directions, time of day, and logistics

  • Research the time and direction of sunset

  • Check the weather forecast

  • Bring a friend and tell someone where you’re going and when you expect to return

  • Pack the essentials including water, sunscreen, proper attire, flashlight, extra batteries and a first aid kit

  • Arrive early and walk around for a while until you find a composition you like

  • Get close to your subject and on the same horizontal plane

  • Dial back (stop-down) your aperture to ensure a greater depth of field (i.e. keep everything in focus)

Feeling accomplished during blue hour. Unlike our wide-angle close-up, the rocks don’t look very big when photographed from this perspective.

Feeling accomplished during blue hour. Unlike our wide-angle close-up, the rocks don’t look very big when photographed from this perspective.

MYSTERY
I almost forgot - what about the mysterious moving rocks themselves? People have theorized that gale-force winds move them, while the less-scientifically inclined envisioned ghosts or aliens. Until recently, we did not have a definitive answer. This video explains the mystery. Enjoy!


Interested in starting a website or blog? How about a place to display your photos online? I use Squarespace as my platform. Get started for free — click the image below.