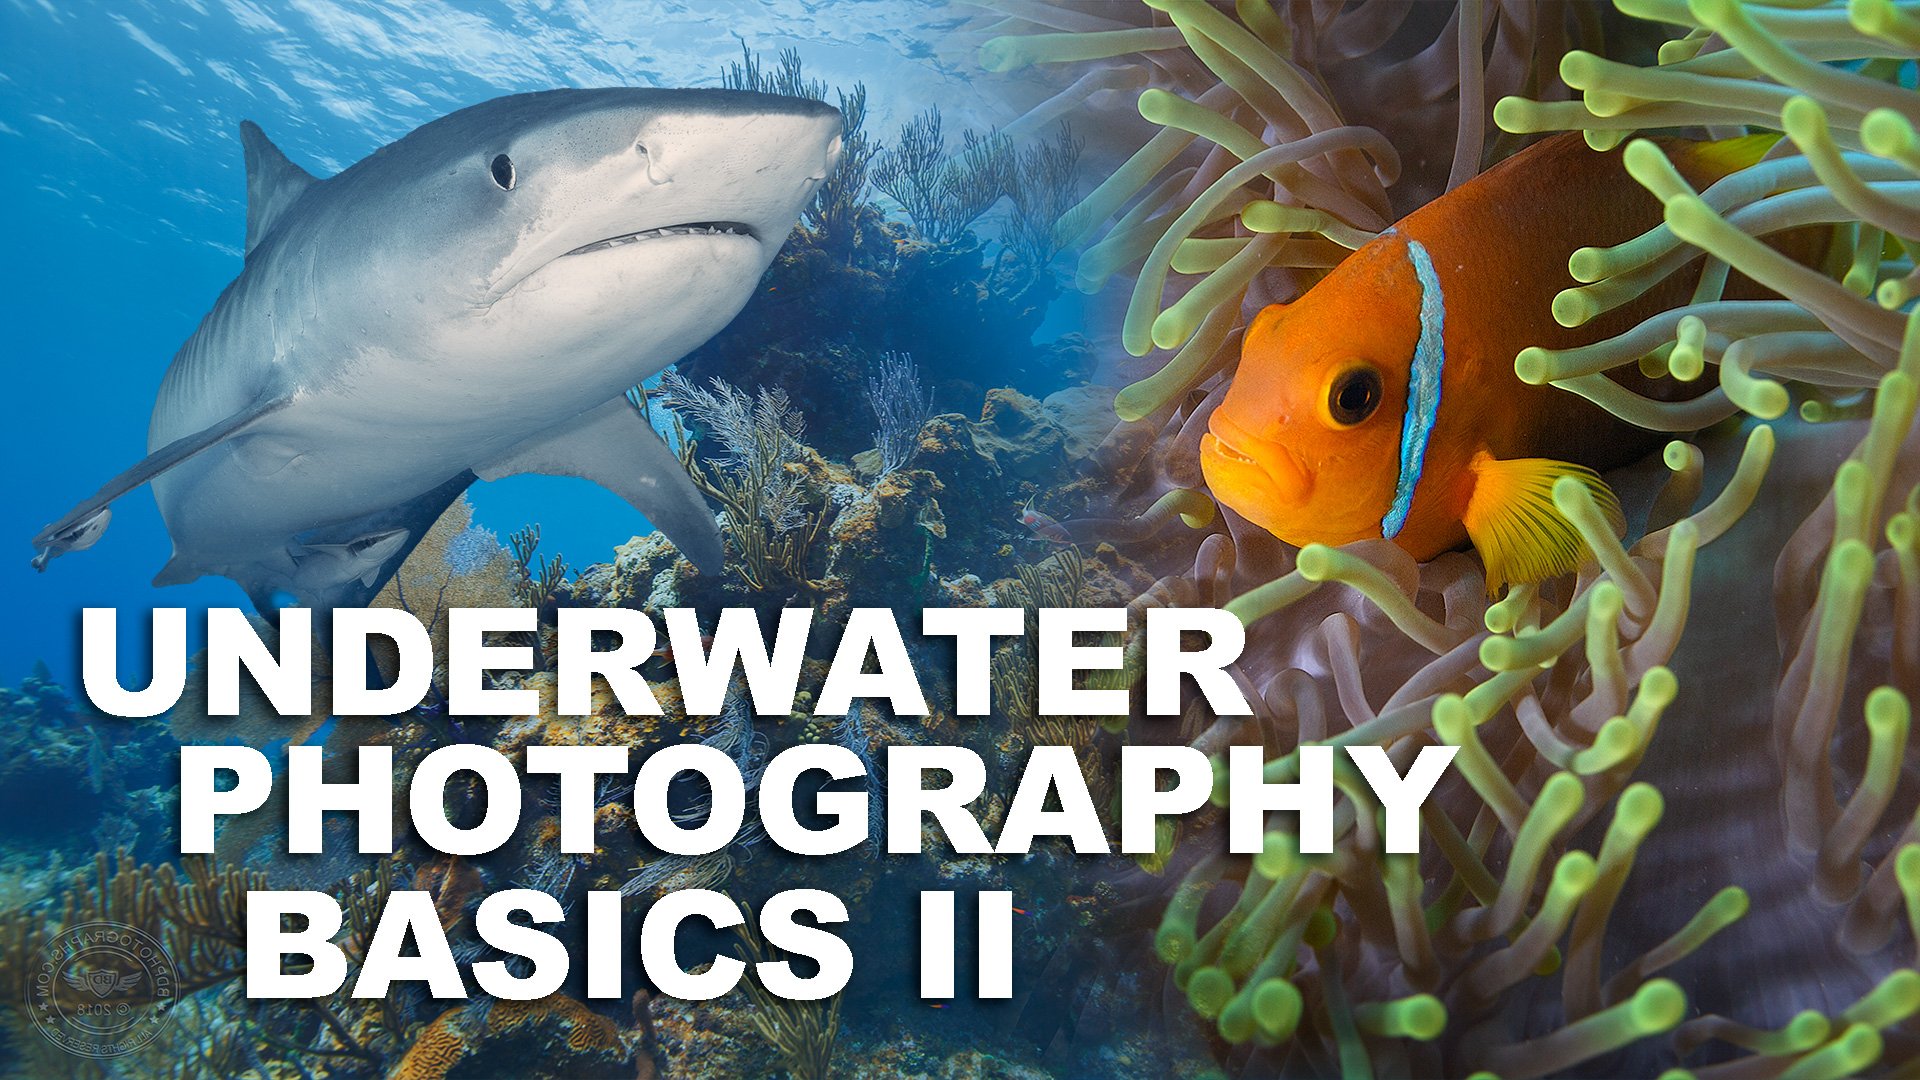
After three years, I’ve released a followup to my most popular YouTube video with “Underwater Photography Basics Part 2”. We pick up where we left off, looking at wide-angle vs. macro photography, composition, and strobes — all packed with examples of tons of great encounters with the ocean’s magnificent creatures.
video
Dolphin Photography
One of the common myths that I like to dispel in my role as a diving evangelist (yes, I preach to anyone who will listen, and many who won’t) is that there aren’t many opportunities for snorkelers to have amazing underwater encounters and photo opportunities. People typically limit their perception of snorkeling to a lazy glide over a tropical reef, but there’s so much more… In the first of the Extreme Snorkel Series, we travel to the Bahamas to share the ocean with the fast and playful Atlantic Spotted Dolphin. This is no gentle swim — the dolphins give us quite a workout as they interact with us and easily out-swim even the fittest of freedivers. Check out my tips and recommendations for dolphin photography in this episode.
And one more thing: although these awesome dolphin encounters are condensed into a fun 6-minute video, this was not an easy expedition. Photographing animals in the wild is nothing like going to an aquarium with guaranteed close-up sightings on demand. It took two visits to the Bahamas to obtain these images — the first time we got completely skunked due to high winds and choppy seas. I vowed to return a few months later and while we did get out to sea, one of the two days was nearly called off again due to winds. In any case, many photographers only showcase their successes, but behind every portfolio shot are numerous failures due to logistics, weather, bad lighting, or human error. No one likes going home empty handed with greater wisdom. We shouldn’t dwell on the negative, but we should acknowledge the difficulty, learn from mistakes, and savor the triumphs. So grab your sunscreen and let’s meet some wild dolphins!
The Amazing Milky Way
If you watched “The Amazing Milky Way” we travel together to the California desert to photograph the Milky Way in the late night hours. My videos are focused on the “experience” of photography and deliberately are not technical … so if you find yourself here it’s probably because I promised in the video to give you more details about gear and technique. I’ll offer one caveat before I make your head spin: astrophotography is its own beast, and there is an entire community of enthusiasts — some might say fanatics — with strong opinions. There’s no way to cover everything and every exception to the rule in a single blog post so I’ll offer the basics and some advice: there is a ton of information out there about photographing the night sky. Read, watch, practice, and discover what works best for you. Better yet, join me on an upcoming photoshoot. Ok, here we go:
GEAR
The Milky Way is big — very big — and you’ll need a wide frame of view to capture it. Most astrophotographers prefer a full frame DSLR/mirrorless camera body over a crop-sensor both for the superior low light performance and the wider field of view. The Sony A7RIII is arguably the champion in this area, followed by the Nikon D850 and Canon 5D Mark IV. The hardcore will have their cameras modified for astrophotography, though doing so instantly voids the manufacturer warranty and necessitates the use of an additional filter for daytime shooting. If you’re just starting out I don’t recommend having your camera astro-modified — it seems to be something people do with a second (usually older) camera.
Wide angle primes are the favorites for milky way photographers because they are sharper and faster than most zoom lenses. The Sigma 14mm F1.8 is a standout in my opinion, though I have had very fine results using a more standard EF 24-70mm F2.8L. I have tried using a slower F4 lens and find that it just doesn’t perform well enough for astrophotography — you’ll need to shoot wide open and it still doesn’t compete with faster glass. The beauty of an F1.4 lens is that you can stop down to 2.0 for a sharper and plenty-wide aperture. Astrophotography is one of those niche art forms so you’ll need to decide whether your more general lenses will suffice for the occasional astro shot, or if you need a specialty lens for nighttime shooting. Either way, I recommend something with a wide end near 16mm and F2.8 or faster.
Tripods seem to be the place where photographers get cheap and I’ve heard more than one cautionary tale about skimping on quality. I understand the desire to pour most of your hard-earned dollars into good glass, but if that investment is not resting on something firm and dependable, you could end up spending much more than you want to. I have never been disappointed by the Gitzo Systematic system, and am also quite happy with the more affordable Sirui EN 2204.
Interested in photography gear and supporting small business? Check out Adorama
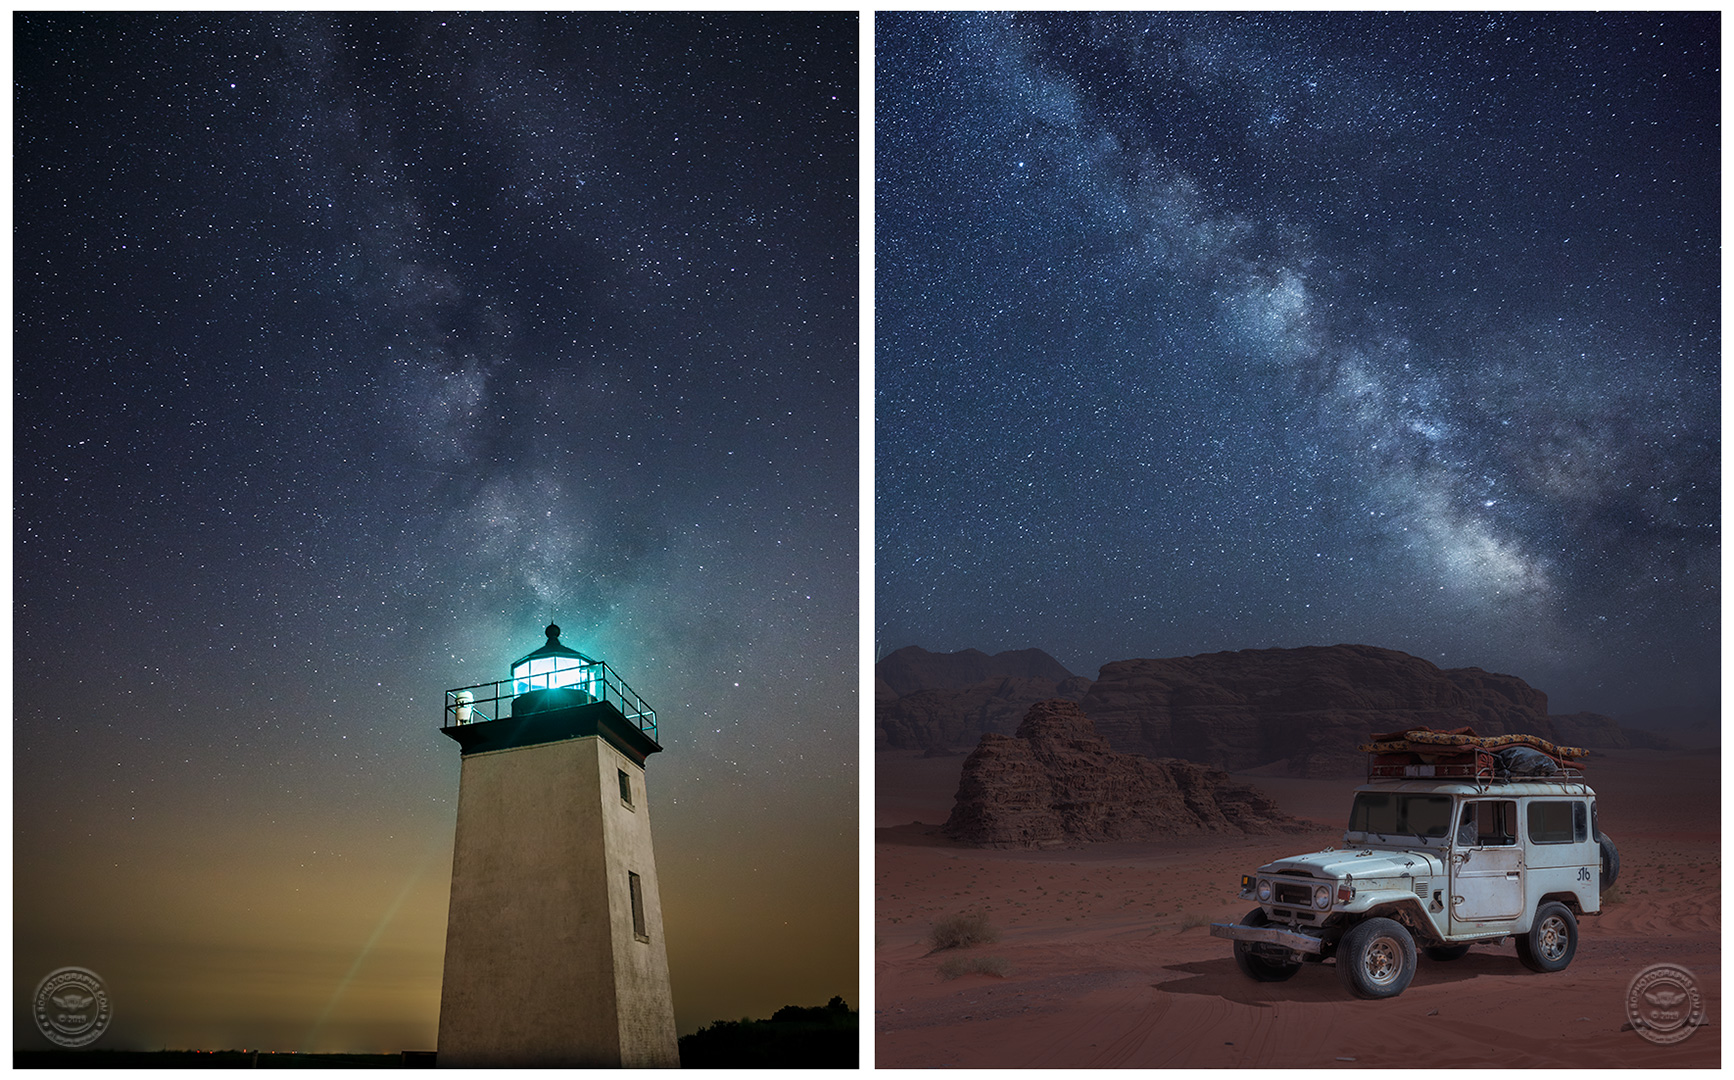
Two different techniques. The left is a single shot image — I hitched a ride on my friends dinghy to get out to this lighthouse and had fifteen minutes to shoot. The right image is a time blend, where the foreground was shot during blue hour and the night sky several hours later. Both were shot with a 24-70mm lens at 24mm.
TECHNIQUES
Single Shot: The simplest and easiest method in which the sky and foreground are captured in a single exposure. This is how most people start in astrophotography and is the one to use if conditions change rapidly (e.g. partly cloudy night with changing visibility) or if you are in a hurry.
Panorama/Vertorama: just like the daytime use of this technique, several overlapping shots are taken to capture a broader scene, and then the exposures are stitched together in post-processing. This is a good alternative to the single shot if a) your lens isn’t wide enough to capture the scene, or b) you want a higher-resolution image.
This image is a 7-shot panorama of vertical (portrait-oriented) images. I used a medium-wide 28mm prime lens.
Interested in starting a website or blog? How about a place to display your photos online? I use Squarespace as my platform. Get started for free — click the image below.
There are several methods of multi-shot astrophotography but they’re all meant to accomplish the same goal: to increase the signal to noise ratio in the shots. Because night photography is shot in low light, we typically need to raise the ISO (i.e. sensor sensitivity) which results in greater image noise. To compensate for the greater noise, astrophotographers use different techniques:
Stacking: The same shot is taken multiple times in immediate succession. The images are “stacked” in a post-processing software application like Starry Landscape Stacker. Because noise is slightly different in each exposure, the software uses statistics to retain the consistent pixels (signal) while discarding a lot of the noise. Stacking is my preferred method of image-making, but it requires advance planning and significant work in post.
Tracking: The camera is mounted on a tracker (sometimes called a “star tracker”) which is a device that moves in counter-rotation to the earth’s natural spin. This permits longer exposures (where a longer shutter means a lower ISO) without the appearance of star trails*. Some photographers combine tracking with stacking. Unless the image is of the sky only, tracking necessarily requires blending with separate shot(s) (in which the tracker is turned off) for the foreground. Once again, this technique requires a lot of work in post.
Time Blending: In this method the foreground is photographed while there is still some available natural light, such as during blue hour. This permits a lower ISO shot to be blended with sky images shot later in the night. The classic time blend requires leaving the tripod — unmoved — in the exact same spot for both shots. A more liberal version of this would be to return to the same spot for the later shot. Purists will consider this a composite image — not necessarily a bad thing, but something that could be disqualifying for photo contests or publication.
Compositing: Just as the name implies, a foreground and sky — which may be from different locations at different times — are combined into a single image in post. I am not opposed to compositing as a technique to achieve a realistic outcome, but I don’t care for impossible shots. Humor the rest of us and make it seem real. When a photographer was published in National Geographic with obvious fakes, the astrophotography community went ballistic. I’ve seen too many ridiculous images of the Milky Way arching over Manhattan (light pollution makes this impossible) — made even more absurd by the fact that the camera is looking up Broadway (i.e. facing north, where the Milky Way would never be). To me these types of images belong next to posters of unicorns and dragons at the mall fantasy shop.
I use Adobe Photoshop and Lightroom to process all my images. Try them for free using this link.
My preferred technique: this image is stacked, 6 shots for the sky, and a single image (with flash) for the foreground. In some instances I also stack the foreground, especially when using natural light only.
SETTINGS
This is the question I get more than any other: what were your settings? Usually the answer is “I don’t remember but it was something around …” Settings really depend on the specific shot and the light in a particular scene. The rule of 500 is a good guideline: divide the focal length of the lens into 500 for the maximum shooting time to avoid star trails*. For example, with a 24mm lens: 500/24 = 20.83, so you wouldn’t want to shoot for more than 20 seconds. Use this as a boundary more than prescription — I find that pulling back from that limit is a good idea if you want the shot viewed in any decent resolution. A typical setting for my astrophotography is Aperture 2.0-2.8, Shutter 15-20 seconds, and ISO 5000-6400.
*Star trails: in a long exposure, the rotation of the earth relative to those stars makes them appear as streaks or lines rather than dots.
Introducing the BDPhotographs YouTube Channel
BDPhotographs is now live on YouTube! If you enjoy the content here, I’d encourage you to subscribe, like, and share, tell your neighbors, all that jazz… The channel will add a video dimension to the photography techniques and tips that I use in my images (without being long-winded and technical, I promise!) Often there are interesting stories behind the images — challenges, surprises, successes, and failures. Videos will also take viewers behind-the-scenes to see where, when, and how images are captured. I can’t think of a better way to kick off this new channel than to take viewers underwater with me to get up close and personal with my favorite animals — sharks! See a great hammerhead shark bite (and spit out) my camera in distaste. Come for the sharks, stay for the photos, and subscribe for the next video. Thank you!


